You've invested in your outdoor space. New plants, a tidy lawn, maybe a patio. But once the sun goes down, that investment disappears into the dark. You cannot use what you cannot see.
Many homeowners ask: How do I light my outdoor space effectively without turning my yard into an airport runway?
Effective outdoor space lighting is not about brightness. It is about visibility, safety, and atmosphere. Done right, it extends your living area well past sunset. Done wrong, you get glare, shadows, and a high electric bill.
Here is the practical, lighting your outdoor space like a pro.
Start With Purpose, Not Product
Before buying a single fixture, answer three questions:
- Where do you walk? - Pathways, steps, and driveways need safety lighting.
- What do you want to see? - A tree, a water feature, a stone wall.
- How do you want to feel? - Calm, secure, or ready to entertain.
Your outdoor space likely serves multiple roles. Lighting should match each role. Do not try to light everything. Light what matters.
The Three Layers of Outdoor Lighting
Effective lighting uses three layers, just like inside your home.
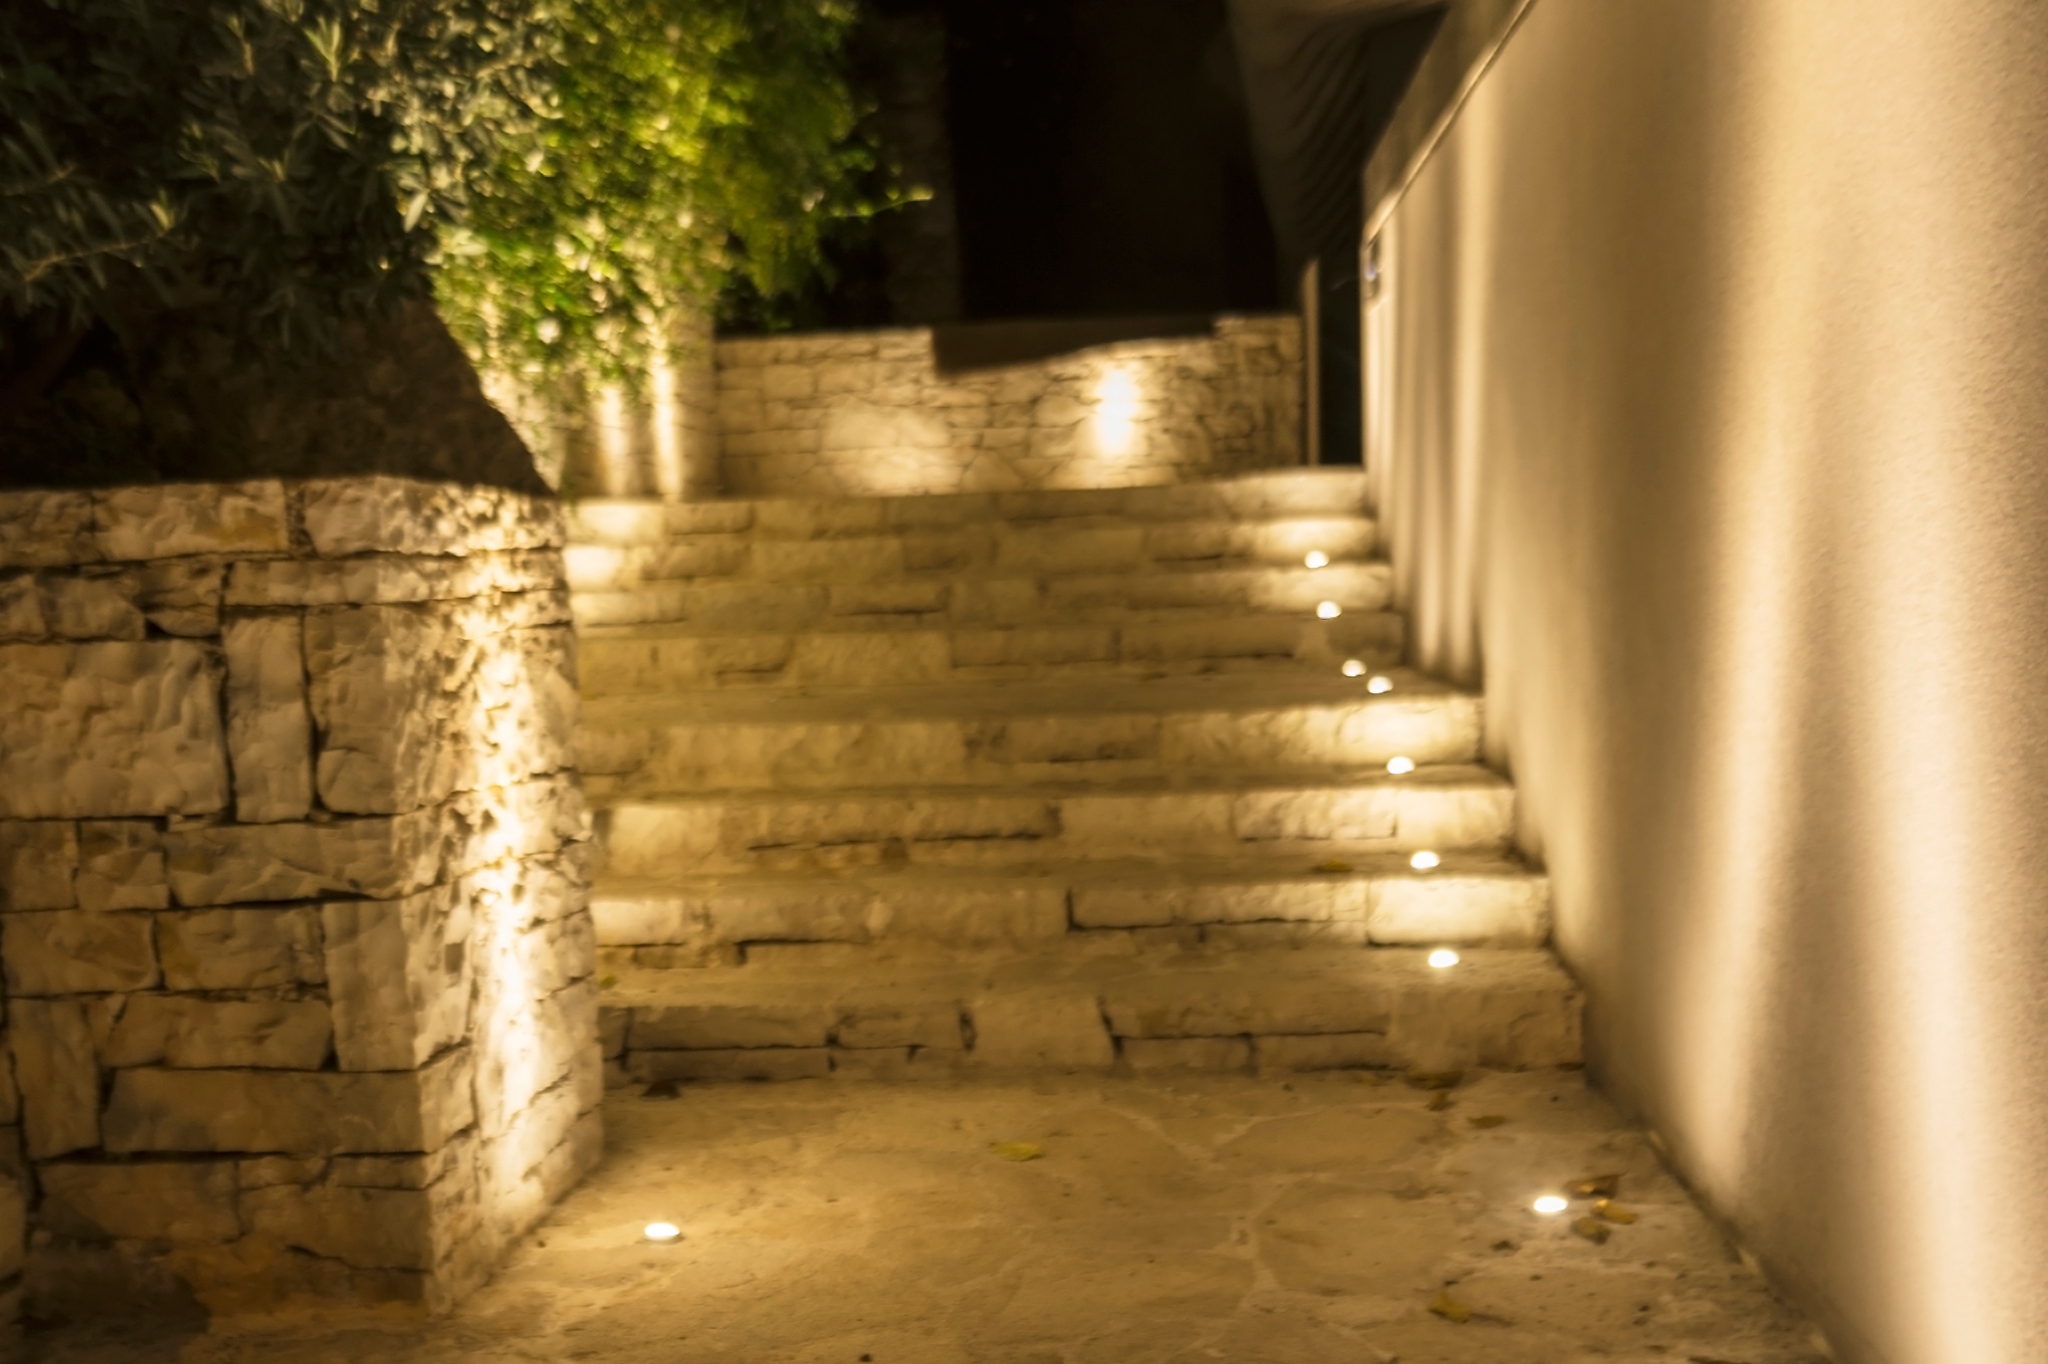
1. Task Lighting
This is practical. It helps you cook on a grill, find your keys, or walk down steps without tripping. For most outdoor space designs, task lighting includes:
- Step lights embedded in risers
- Post lights along a driveway
- Motion lights near entry doors
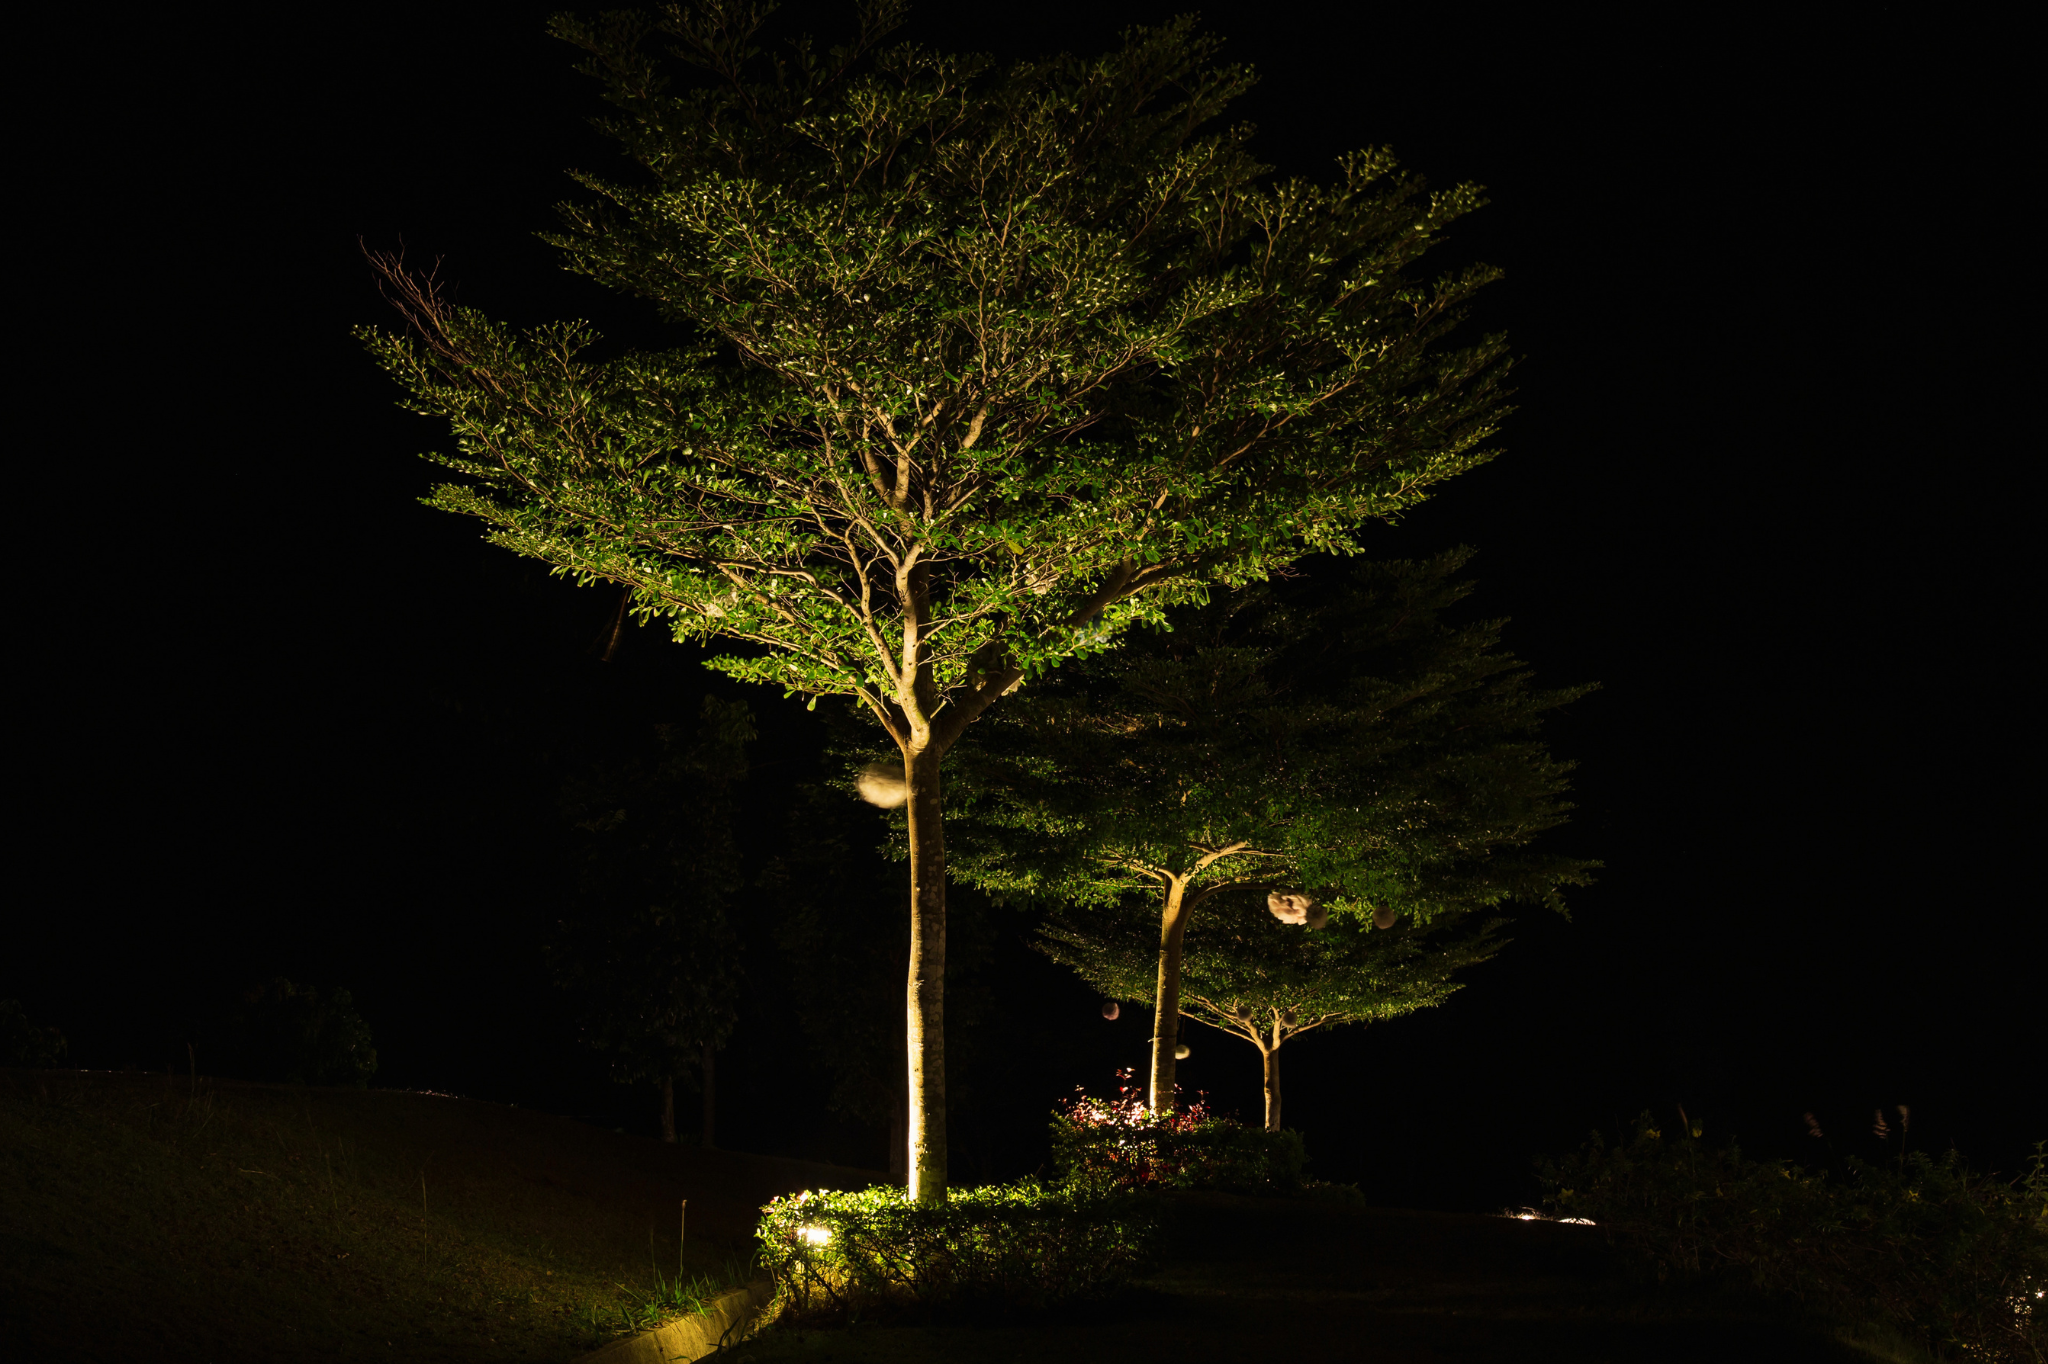
2. Accent Lighting
This is visual. It draws the eye to your best features. In a well-designed outdoor space, accent lighting turns ordinary plants into evening art. Techniques include:
- Uplighting: Light shines up into a tree or against a wall.
- Downlighting: Light shines down from a branch or eave, like moonlight.
- Grazing: Light skims across textured stone or brick.
3. Ambient Lighting
This is atmospheric. It provides gentle, overall illumination for seating areas. Think string lights, low bollards, or a fire feature. Ambient light should never be harsh. It is the backdrop for conversation.
Most failed outdoor space lighting skips layers. One floodlight on a switch does nothing good.
Hardscape vs. Landscape Lighting
Know the difference.
Hardscape lighting attaches to structures: walls, steps, posts, decks. These fixtures are typically low-voltage and last for years. Landscape lighting is placed among plants or trees. These fixtures may need repositioning as shrubs grow.
A balanced outdoor space uses both. Hardscape lights define the hard edges, where you walk, where you sit. Landscape lights soften those edges with shadows and highlights.
Voltage: Low is Better
Do not use line voltage (standard 120V) for general outdoor space lighting. It is overkill, dangerous to install, and expensive to run.
Low-voltage (12V) systems are the standard. They are:
- Safer (no shock risk if cut by a shovel)
- Easier to move or add to
- Much cheaper to operate
- Simple to DIY or for a pro to install fast
For large properties, you might add a transformer with a photocell timer. The lights turn on at dusk, off at your set time.
Common Mistakes That Ruin an Outdoor Space
Even well-intentioned lighting can fail. Avoid these:
- Mistake #1: Over-lighting. Your yard is not a stadium. Too many bright lights destroy the night feel and annoy neighbors.
- Mistake #2: Up-only lighting. All lights pointing up creates harsh raccoon-eye shadows. Mix up and down directions.
- Mistake #3: Ignoring glare. If you see the bulb directly, it is glare. Aim fixtures so the light hits the object, not your eyes.
- Mistake #4: Hotspots and dark zones. Uneven spacing creates islands of light in a sea of black. Walk your outdoor space at night during a test.
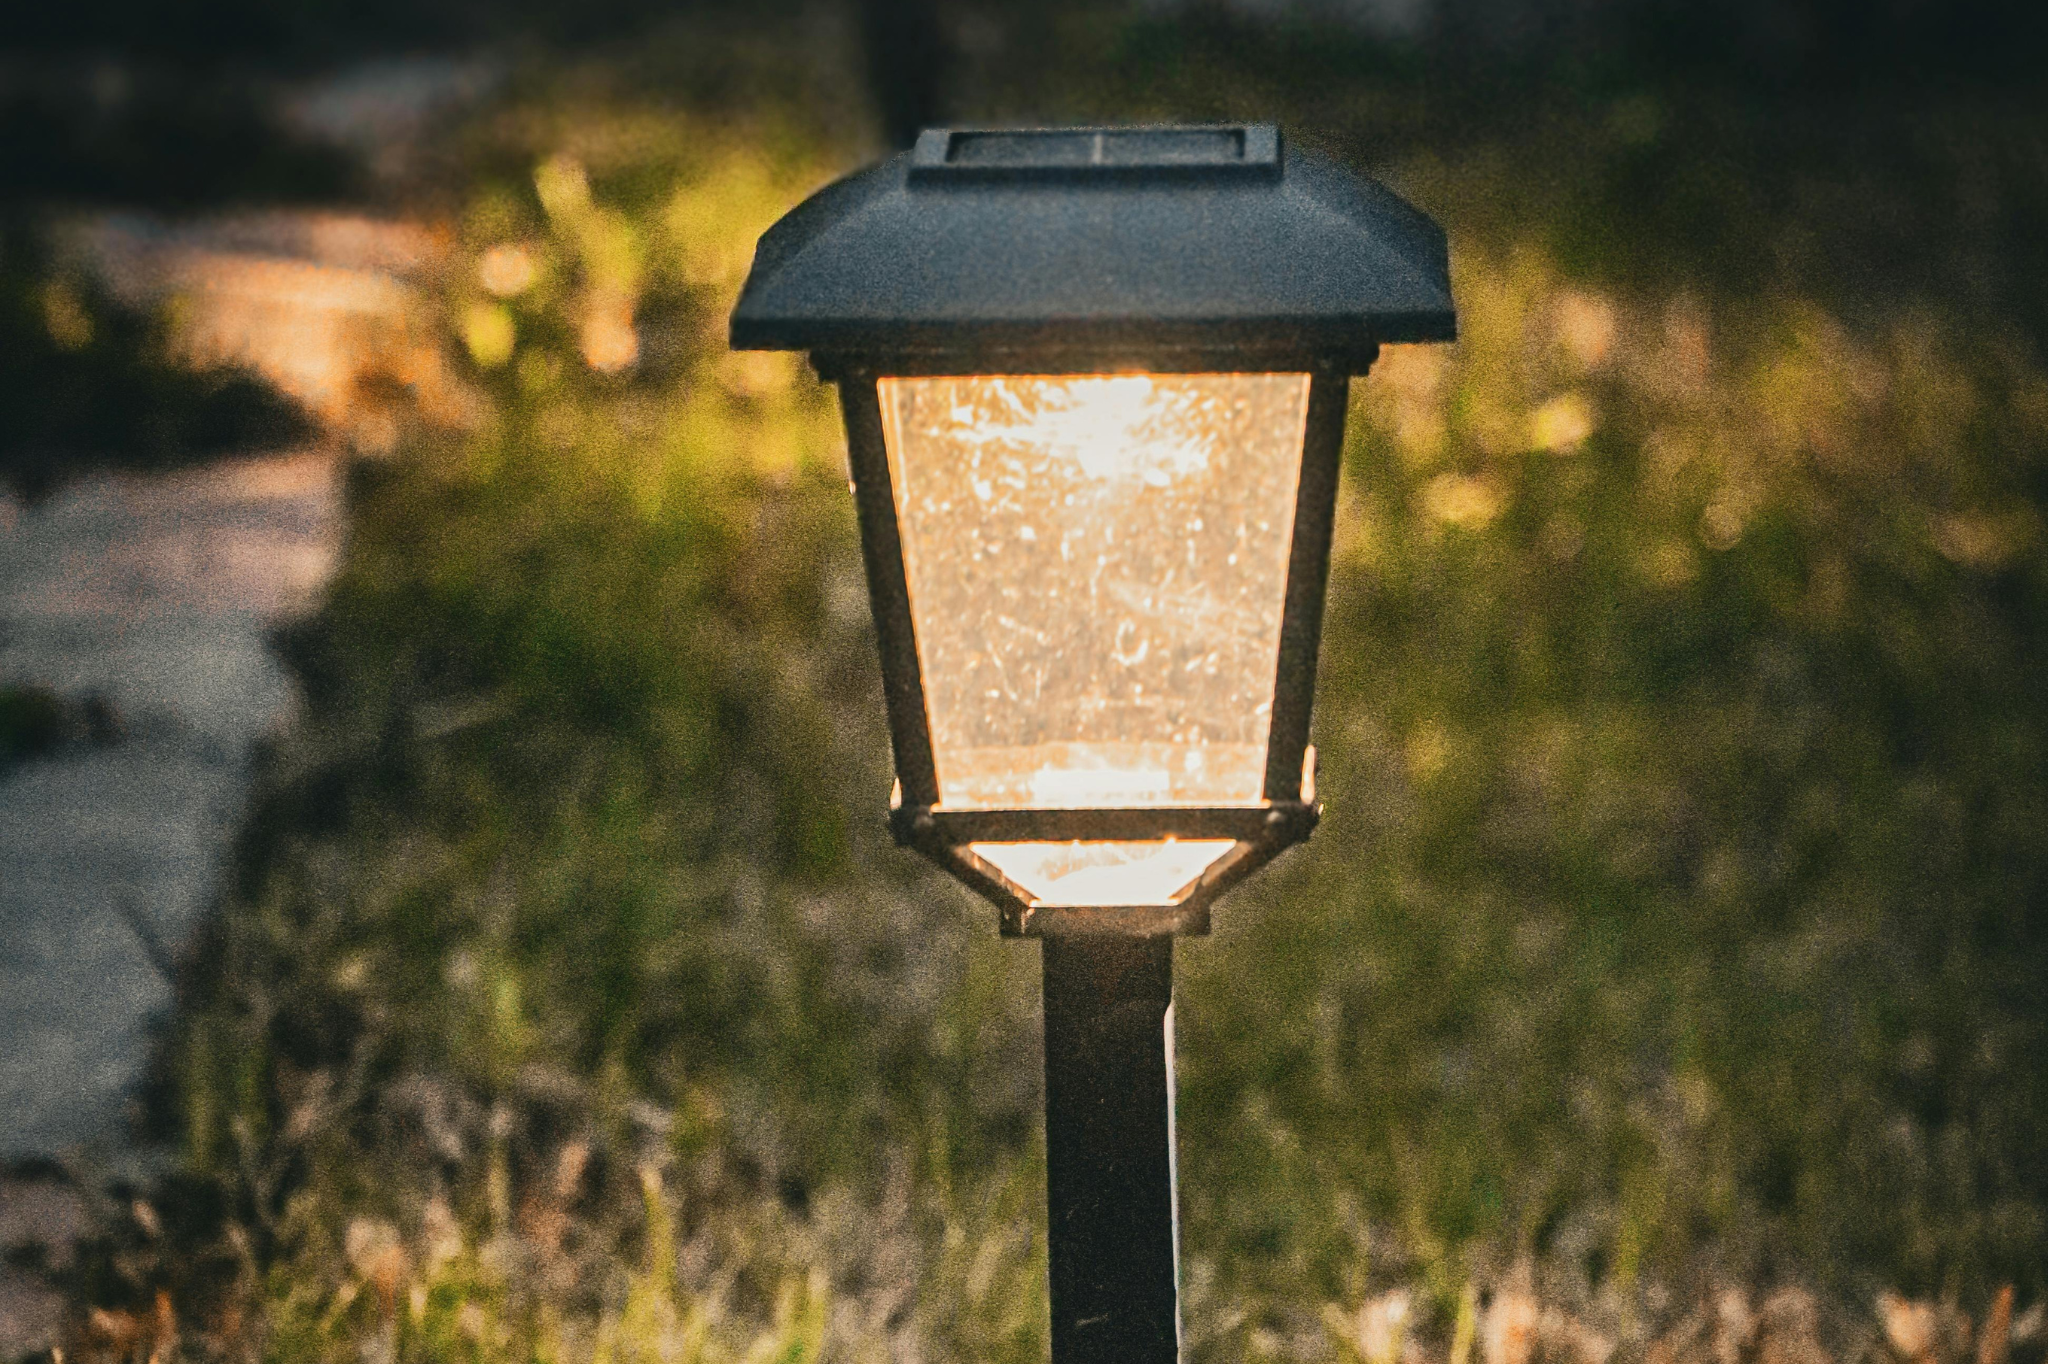
- Mistake #5: Cheap solar lights. Solar has its place (remote areas, no wires), but most small solar fixtures are dim and die in two years. Low-voltage is far more reliable.
Fixture Types Worth Your Money
You do not need dozens of fixtures. You need the right ones.
- Path lights (12-18 in. tall): Place every 6-8 feet along walks. Stagger left and right for a natural look.
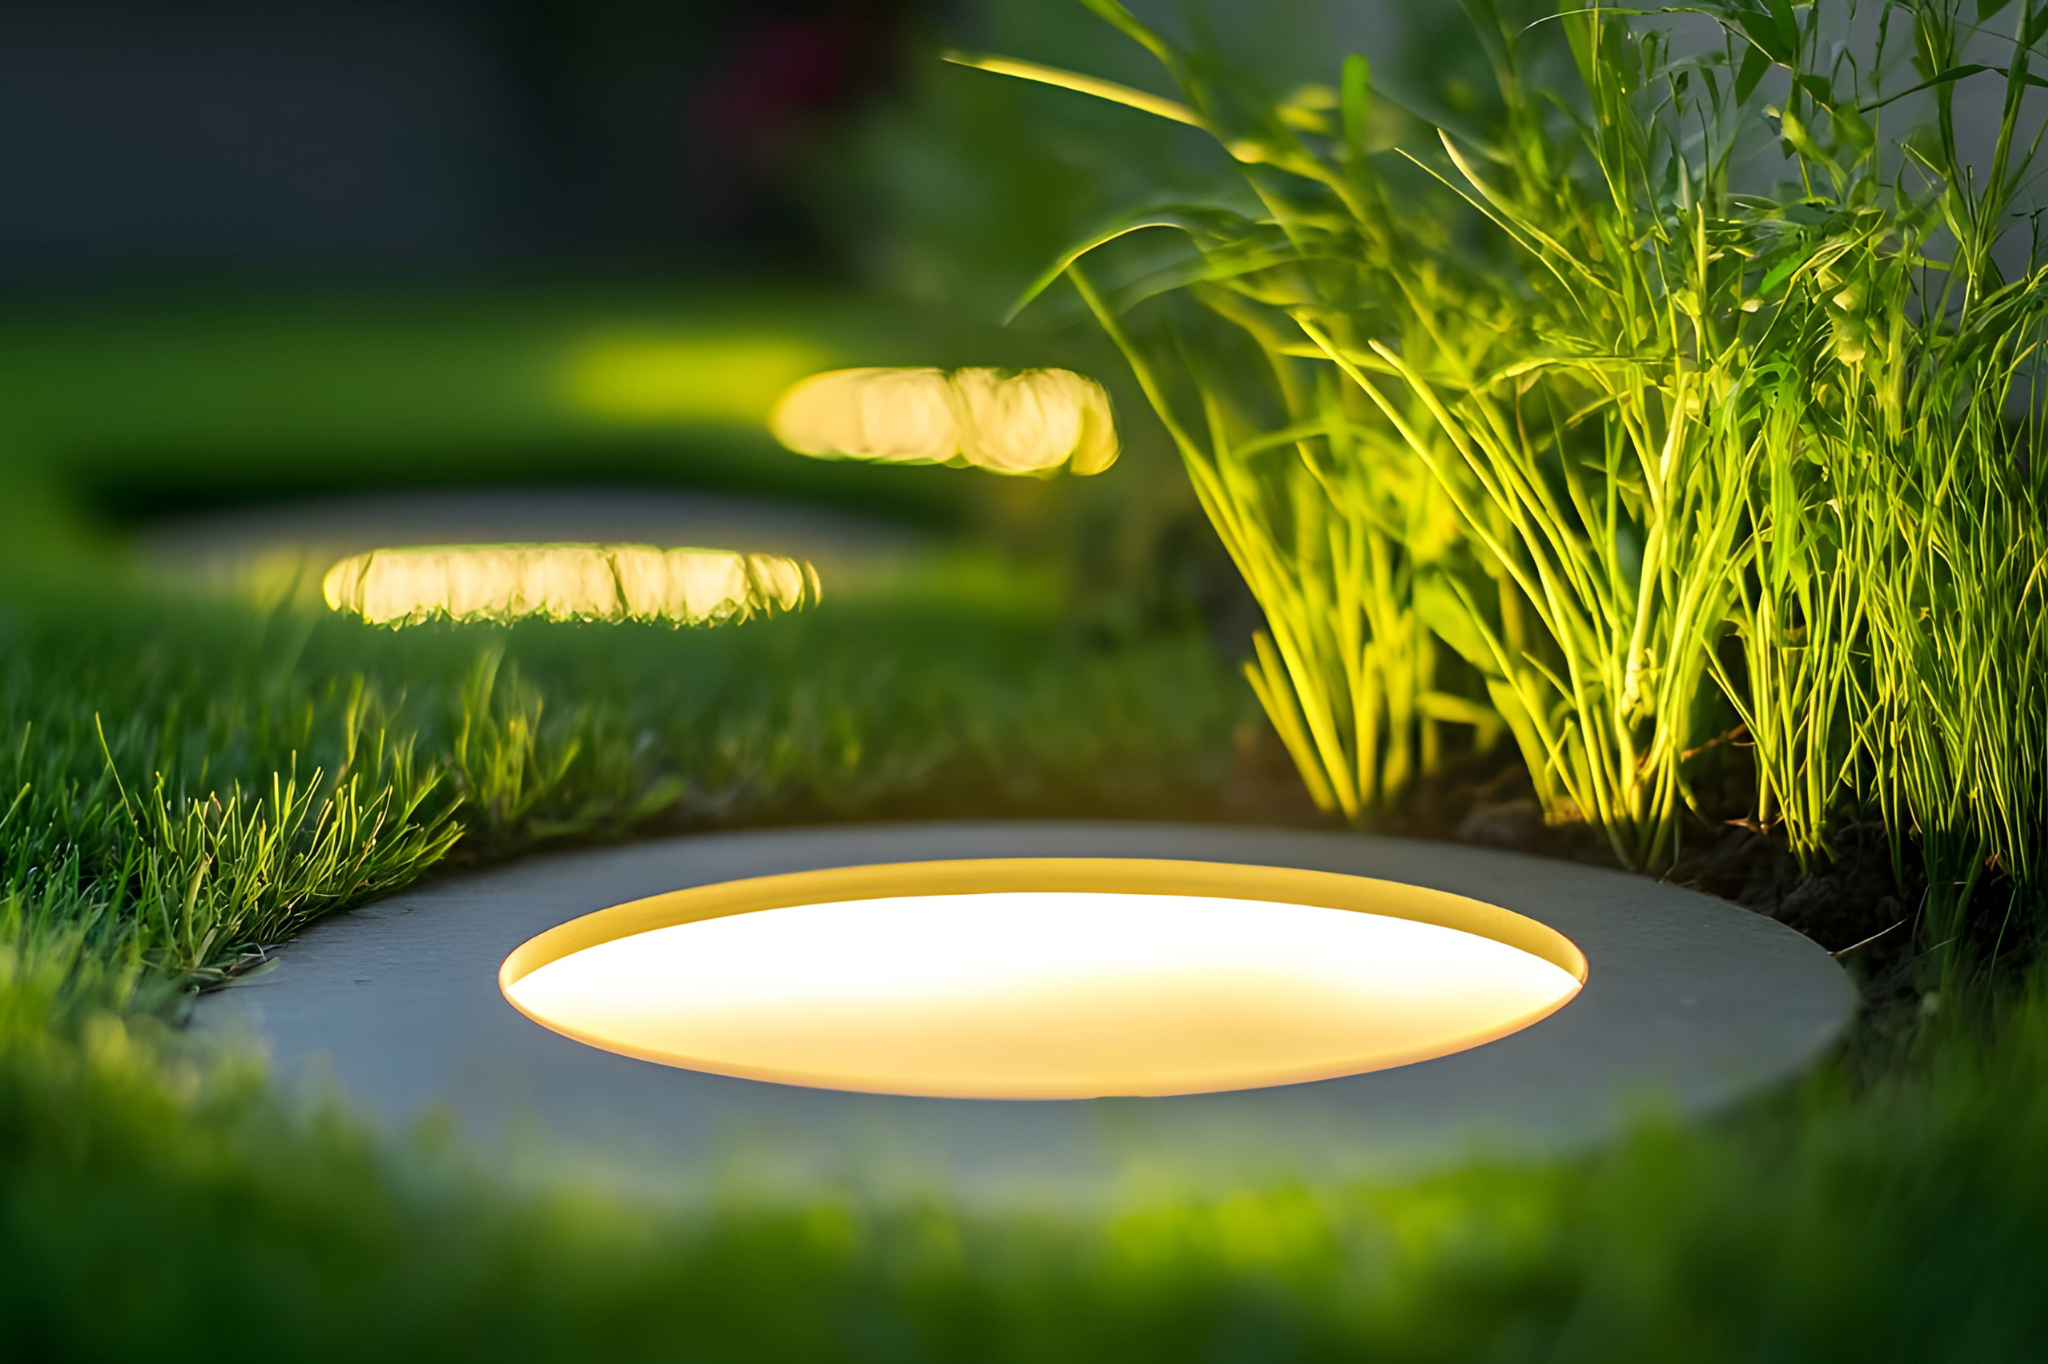
- Well lights (flush with ground): Perfect for uplighting trees without seeing the fixture.
- Deck or step lights (recessed): Install into vertical risers. Light the ground below each step.
- Bullet lights (small, directional): Aim at specific plants or signs.
- Floodlights (only for security): Keep on a separate switch from your ambient lighting.
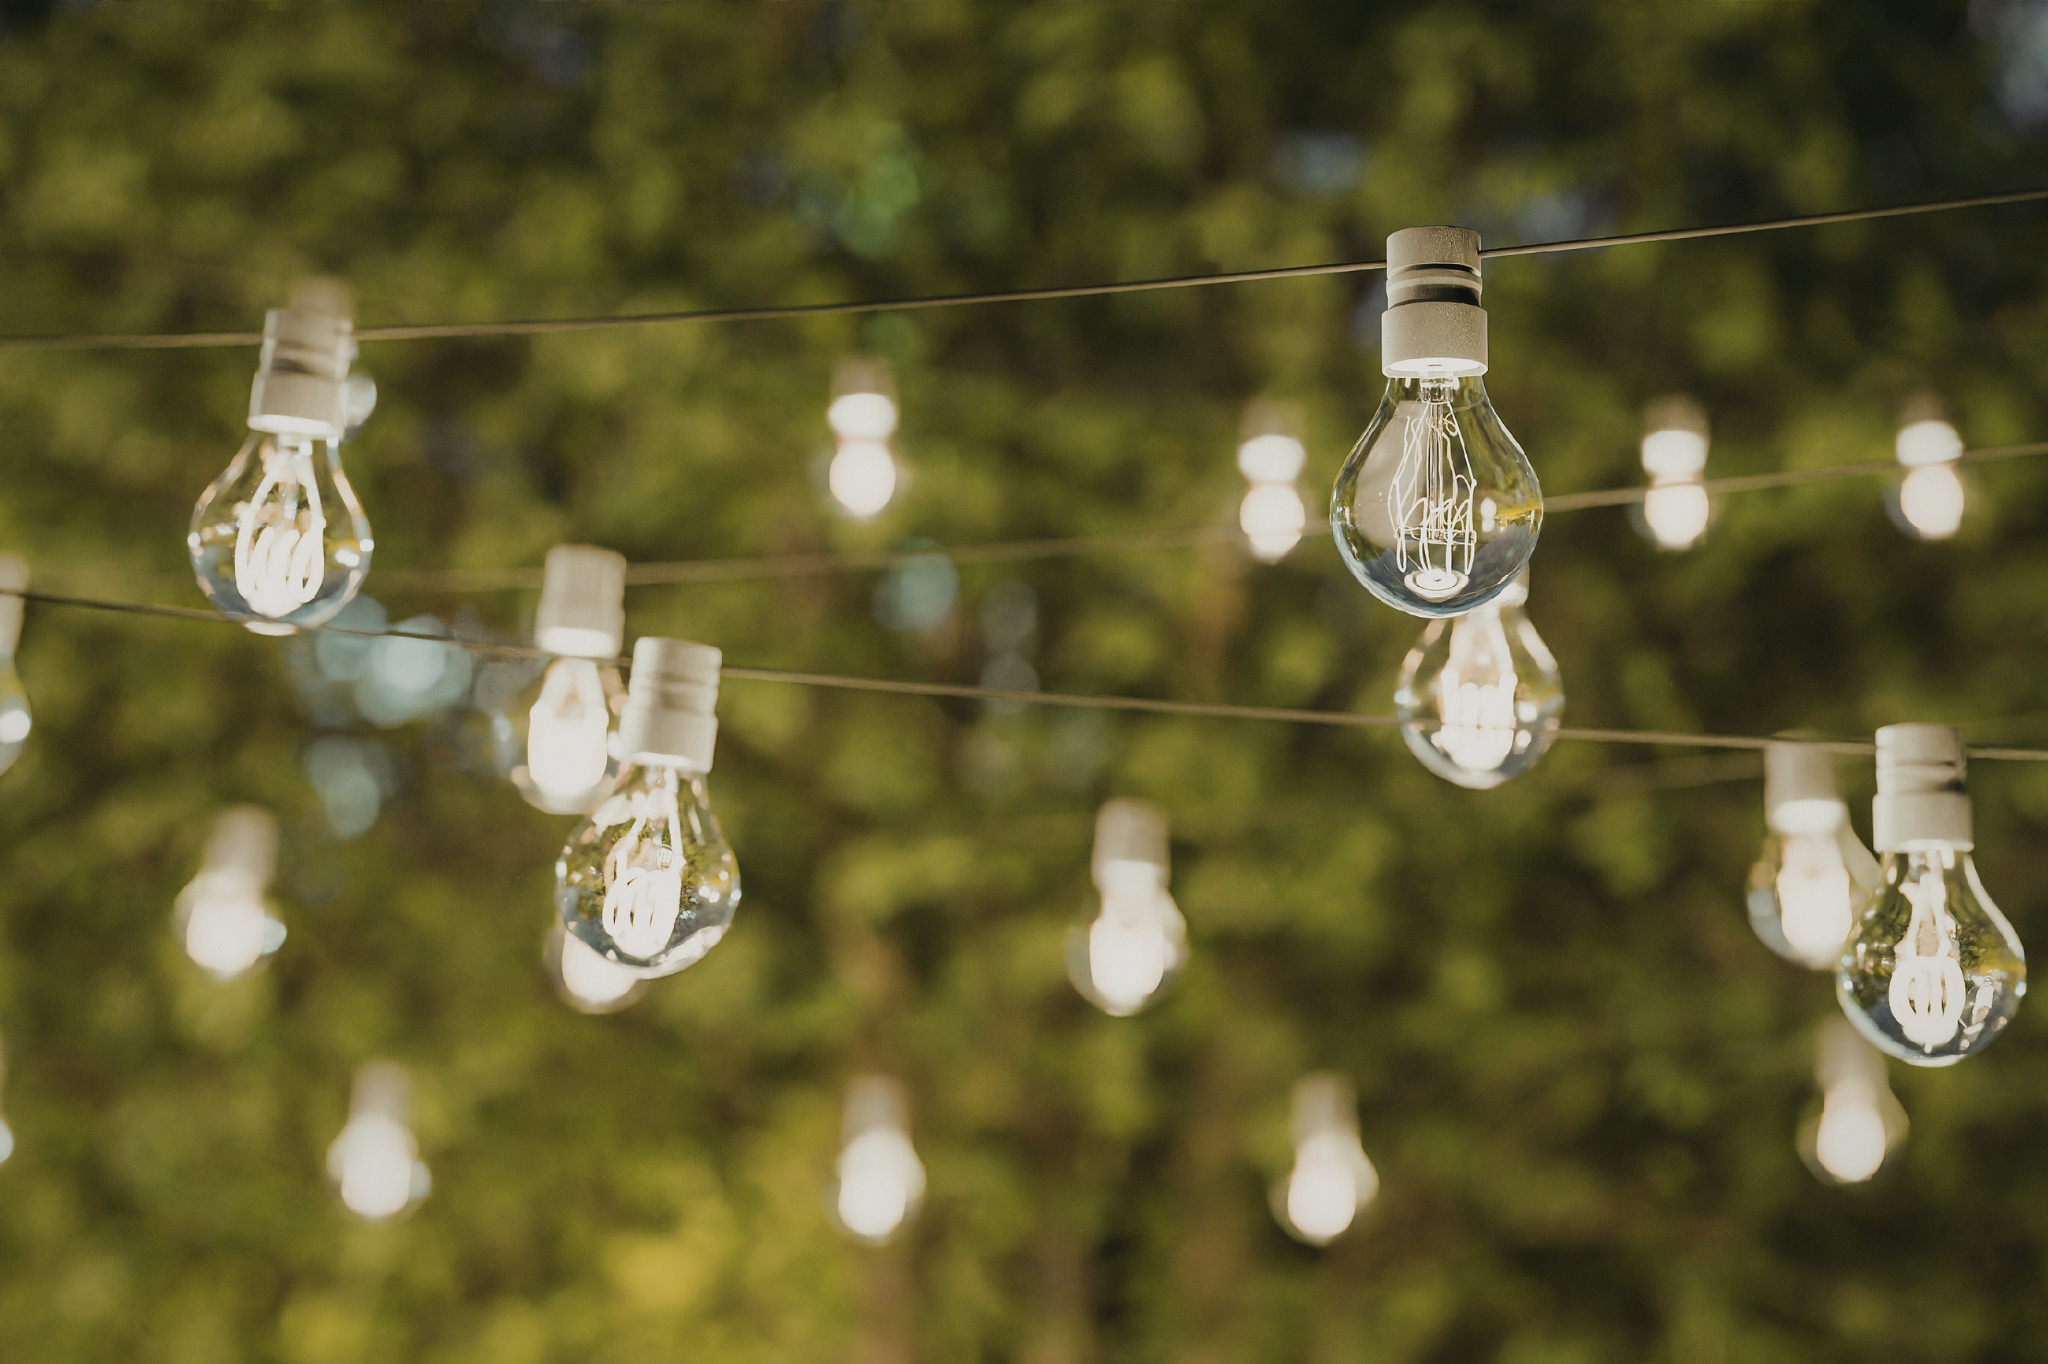
For seating areas, nothing beats low-voltage string lights hung in a zigzag pattern. They create a ceiling of light over your outdoor space without harshness.
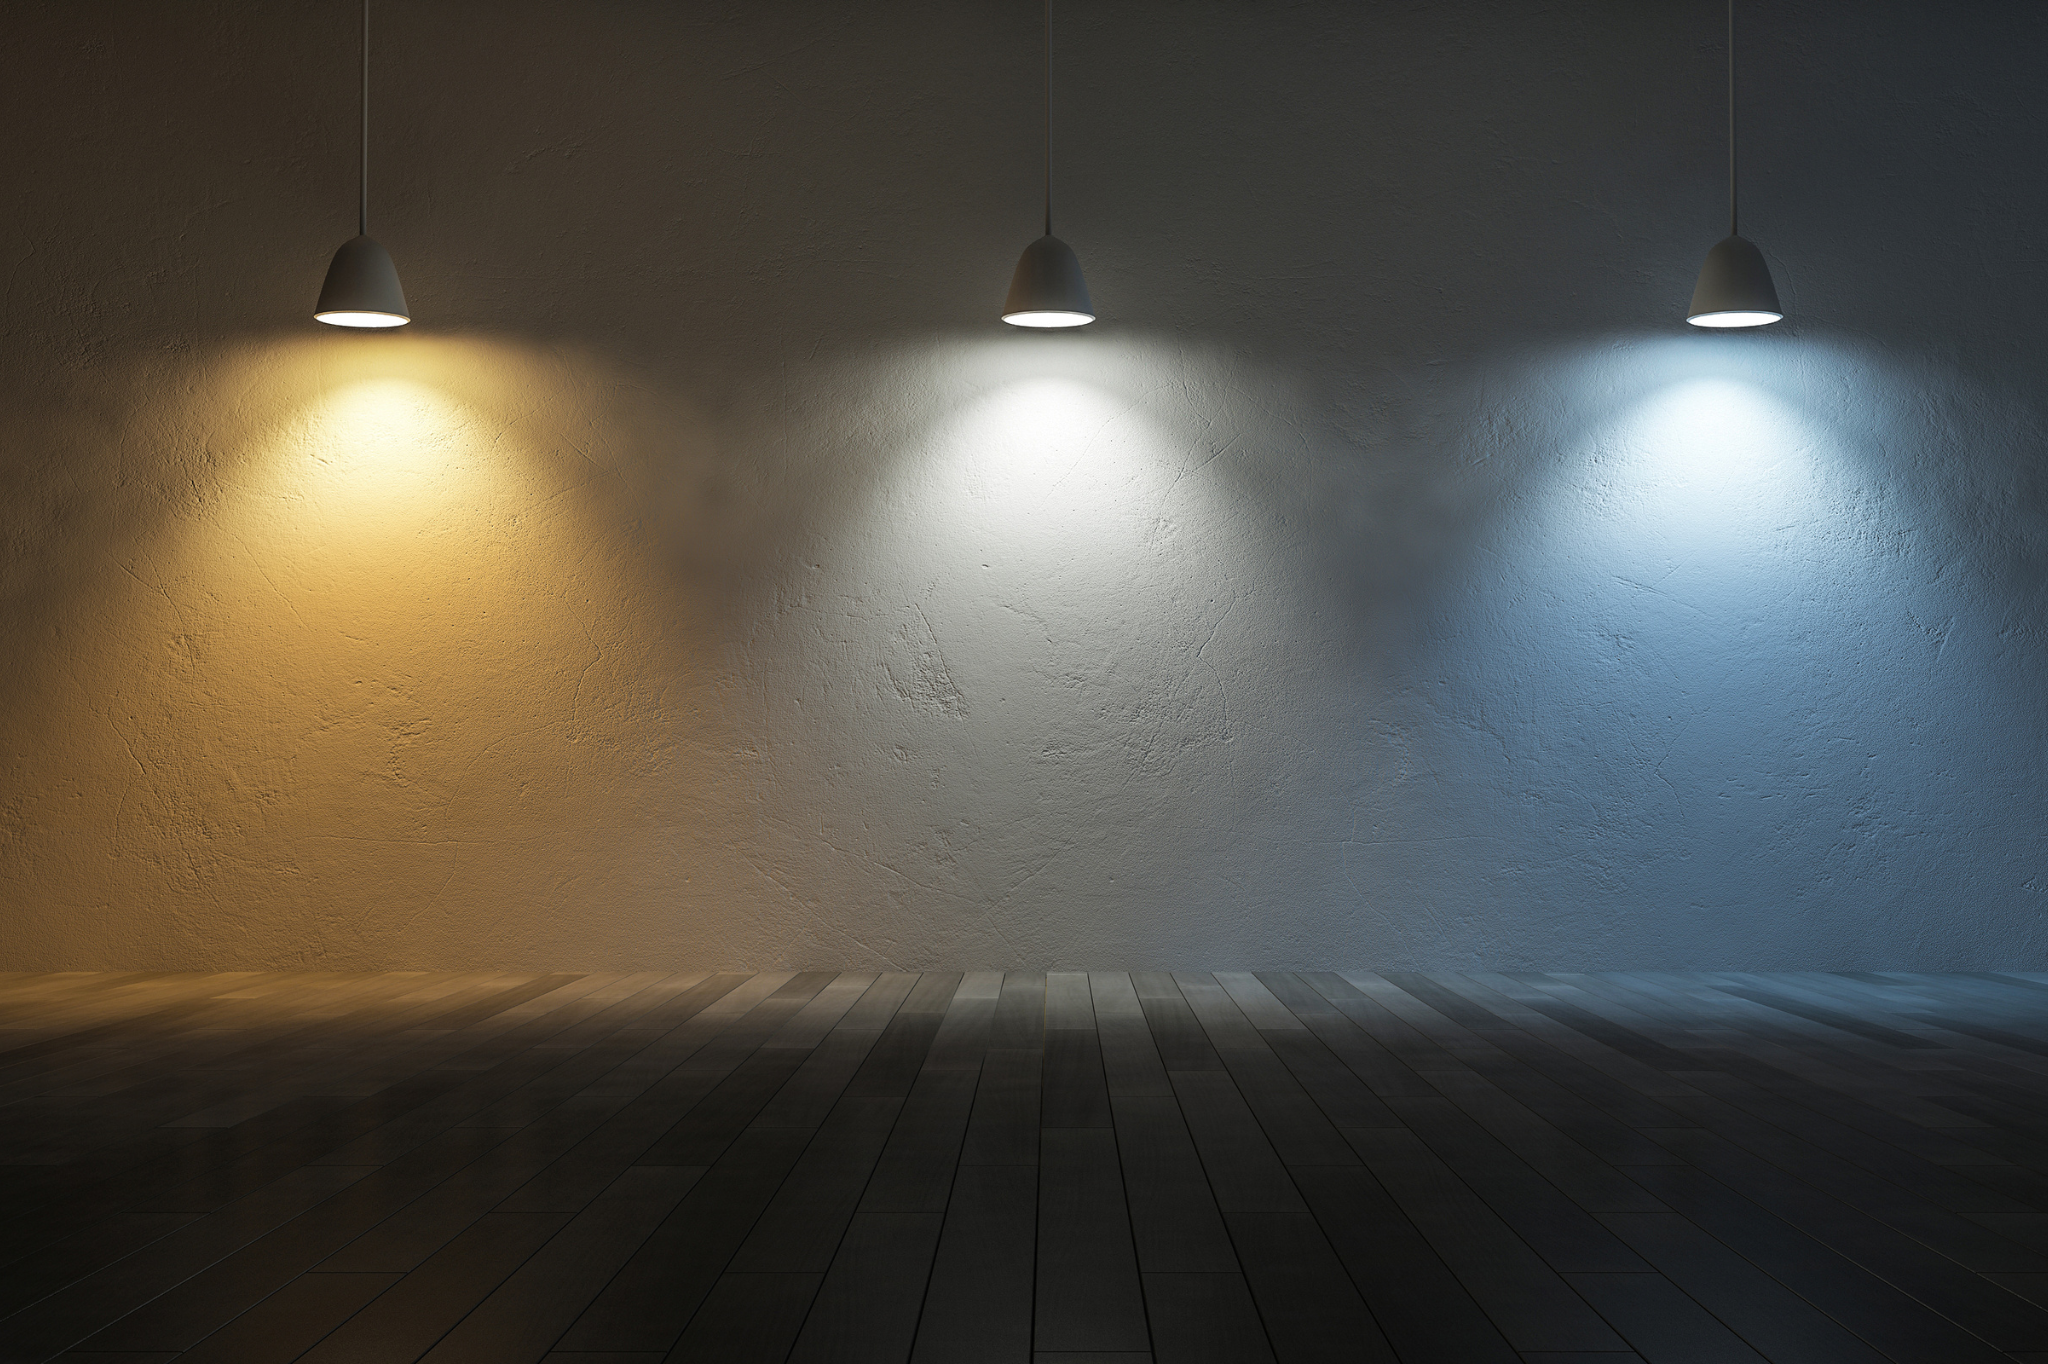
Color Temperature Matters More Than You Think
Pay attention to Kelvins (K).
- 2200K-2700K (warm white): Looks like firelight or old incandescent. Best for seating areas, trees, and house walls.
- 3000K (soft white): Neutral. Works for paths and steps.
- 4000K+ (cool white): Looks like an operating room. Avoid in residential outdoor space unless you need security-only lighting.
Warm light makes skin look healthy and plants look rich. Cool light makes everything look flat and clinical. Buy warm.
Control Systems: Simple is Reliable
You do not need a smartphone-controlled system with 50 scenes. For most homeowners, a dusk-to-dawn timer on the transformer is enough.
That said, adding a manual override switch inside your back door is smart. It lets you turn lights on for an evening party or off if you want total darkness.
Avoid systems that require an app to turn on. When your phone is inside and your hands are full of burgers, you will not use it.
The 80/20 Rule for Outdoor Space Lighting
Here is the pro secret: 80% of the benefit comes from 20% of the fixtures.
That 20% includes:
- Step lighting at every elevation change (safety)
- One featured tree or structure (beauty)
- Path lighting from driveway to front door (welcome)
After those three are solved, add accent lights slowly. Test one new fixture for a week. Add another only if the first improves the outdoor space.
When to Call a Pro
You can install low-voltage lighting yourself. Kits are available at any home center. But if your outdoor space has any of the following, hire a professional like C&K Landscaping:
- Extensive stonework or retaining walls (fixtures need to be integrated before construction)
- Large trees over 20 feet tall (safe ladder and aiming experience required)
- No existing exterior outlets (new line-voltage wiring needed)
- You simply want it done right the first time
A professional will also help you avoid the dotted-line look of cheap path lights placed in a straight row. Good lighting design has rhythm, not uniformity.
Night Test Your Current Setup
Tonight, before buying anything, go outside at full dark. Turn on whatever lighting you have. Stand in each area of your outdoor space and ask:
- Do I feel safe walking here?
- Can I see faces at seating areas?
- Is there any bulb pointed at my eyes?
- Does the light feel welcoming or harsh?
Write down what works and what fails. That becomes your shopping list.
The Final Rule: Less, But Better
One well-made brass bullet light is better than six plastic solar spikes. The brass fixture will still work in ten years. The solar spikes will be in a landfill.
Invest in fewer, better fixtures. Place them deliberately. Keep the light warm and low. Test from every seat and every path.
Your outdoor space should not scream for attention after dark. It should quietly invite you to stay a little longer. Good lighting does not announce itself. It simply makes everything look better.
Now go outside with a notepad. The dark will tell you exactly where to start.
C&K Landscaping helps homeowners in Southern Utah design and install functional outdoor spaces, including thoughtful lighting that works with your landscape, not against it. Contact them for a free estimate.
Topics: