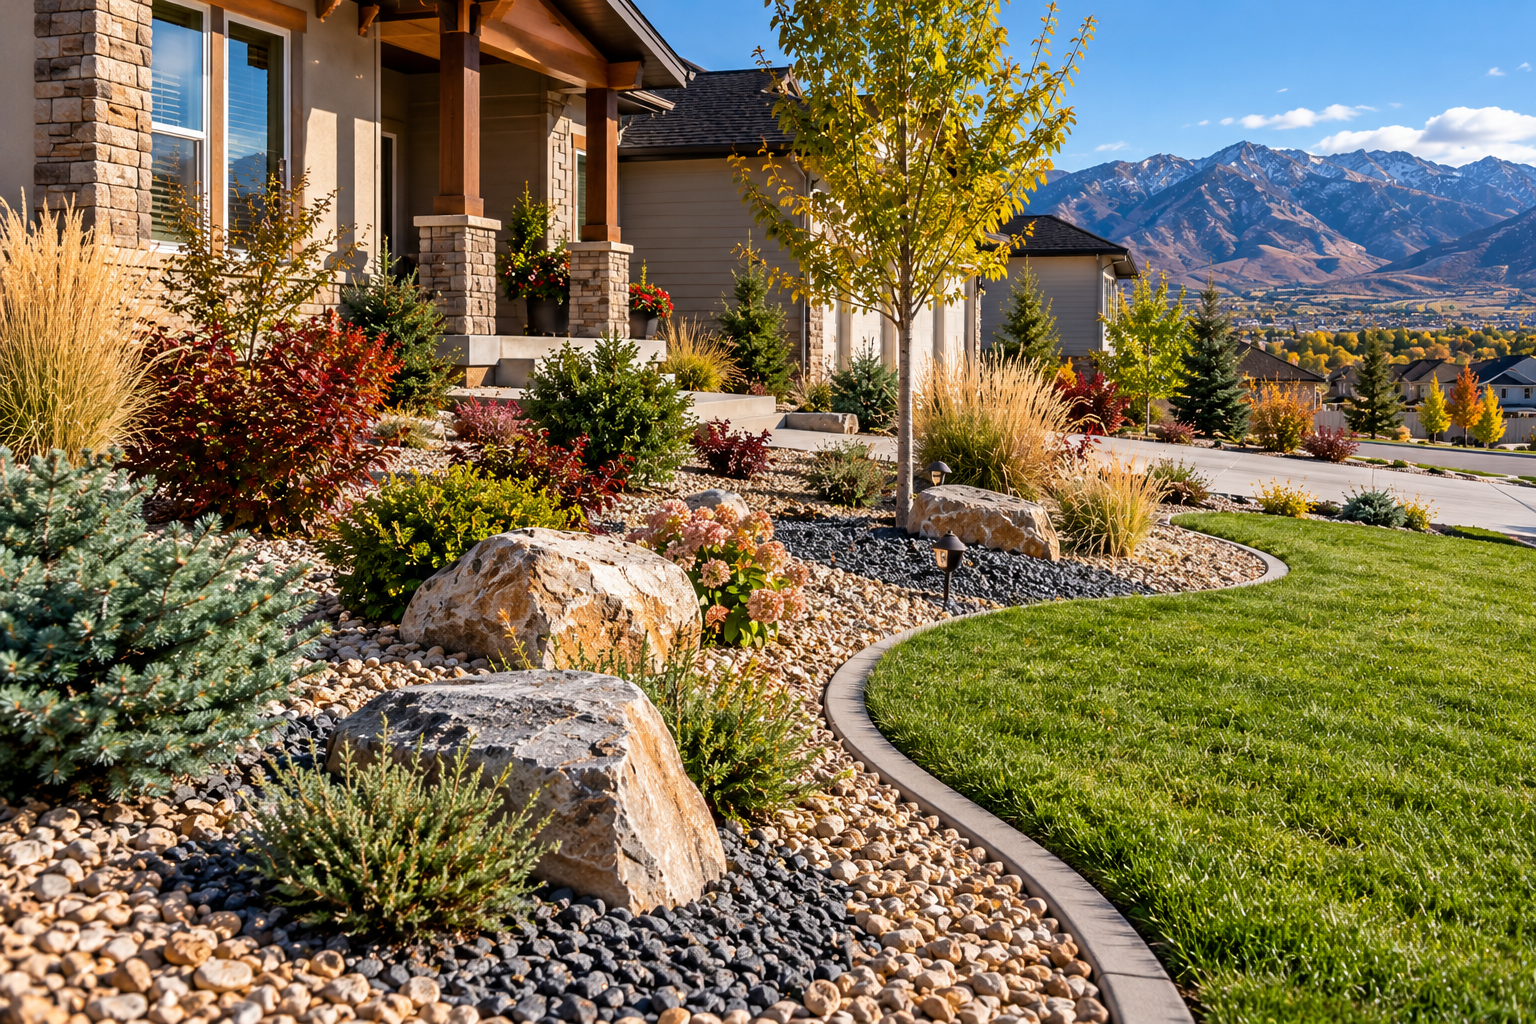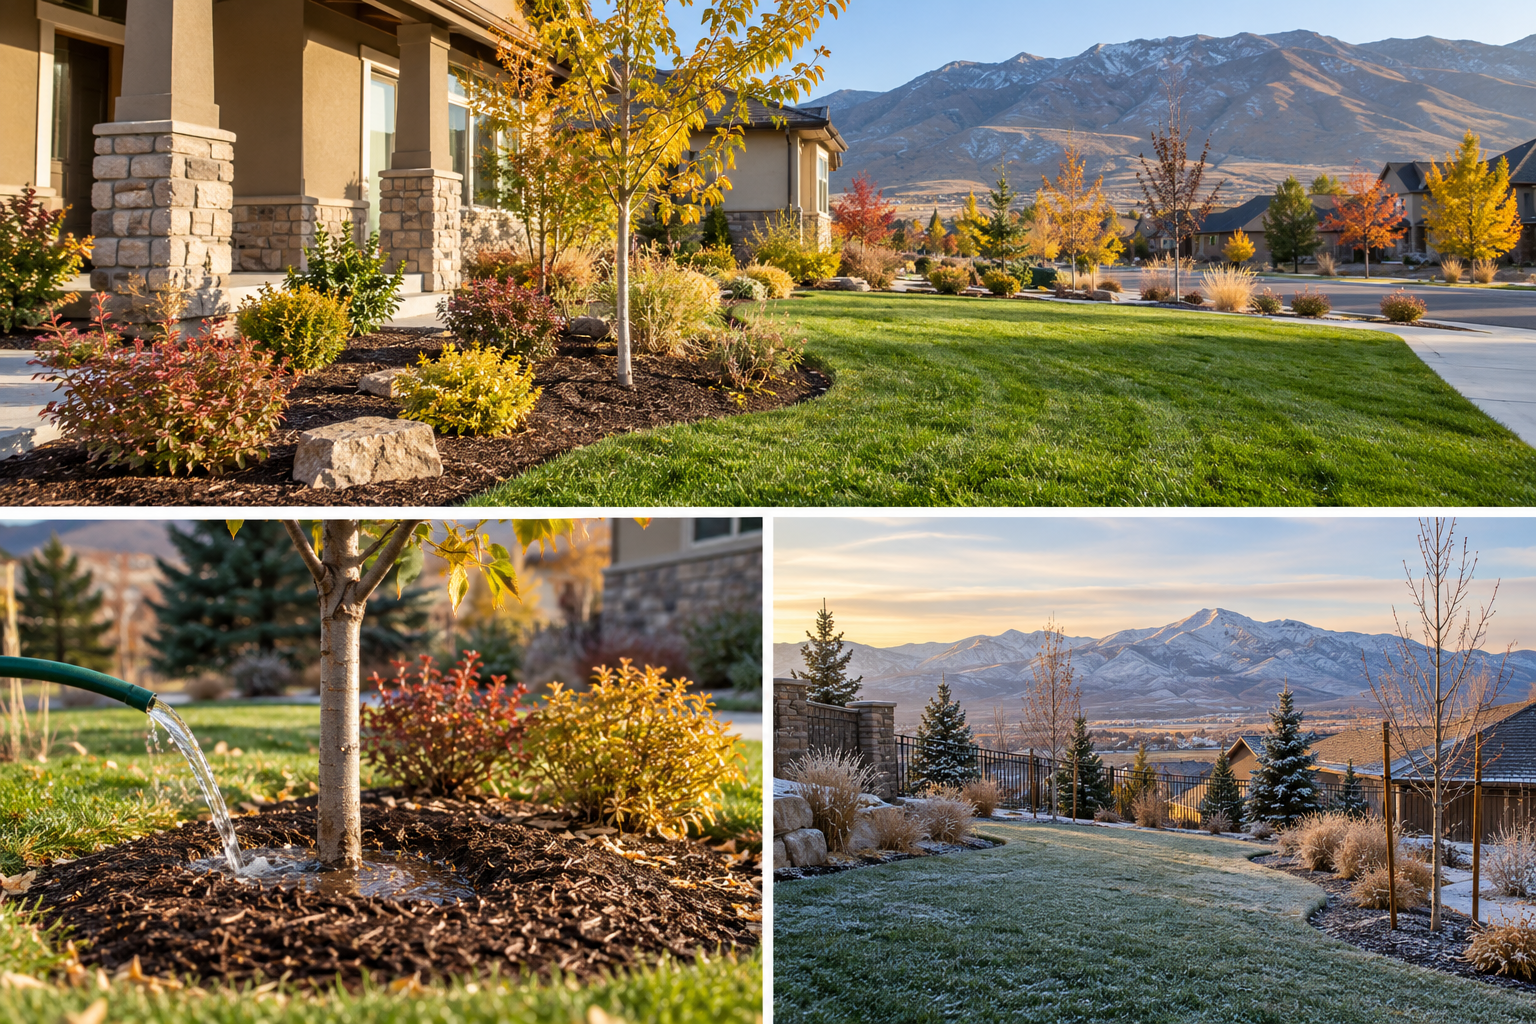
Dreaming of harvesting sun-warmed tomatoes, crisp lettuce, and sweet berries just steps from your kitchen door? Creating a vegetable garden in your backyard is one of the most rewarding home projects, transforming outdoor space into a source of beauty, nourishment, and joy. At C&K Landscaping, we've helped countless homeowners turn their garden dreams into thriving, productive realities. This guide walks you through the essential steps we use when designing and installing successful edible landscapes.
Step 1: The Professional Site Assessment (Your First Crucial Step)
Before you put a shovel in the ground, a thorough site analysis is the foundation of every project we undertake.
Sun & Soil Analysis: Your garden needs at least 6–8 hours of direct sunlight daily. Track the sun's path across your potential site and observe where shadows fall from trees, fences, or your home. Soil type, drainage, and pH level can dramatically impact plant health. A simple perk test—digging a hole, filling it with water, and timing how long it drains—can reveal drainage issues that need correcting. We often recommend professional soil testing to determine exact nutrient and amendment needs.
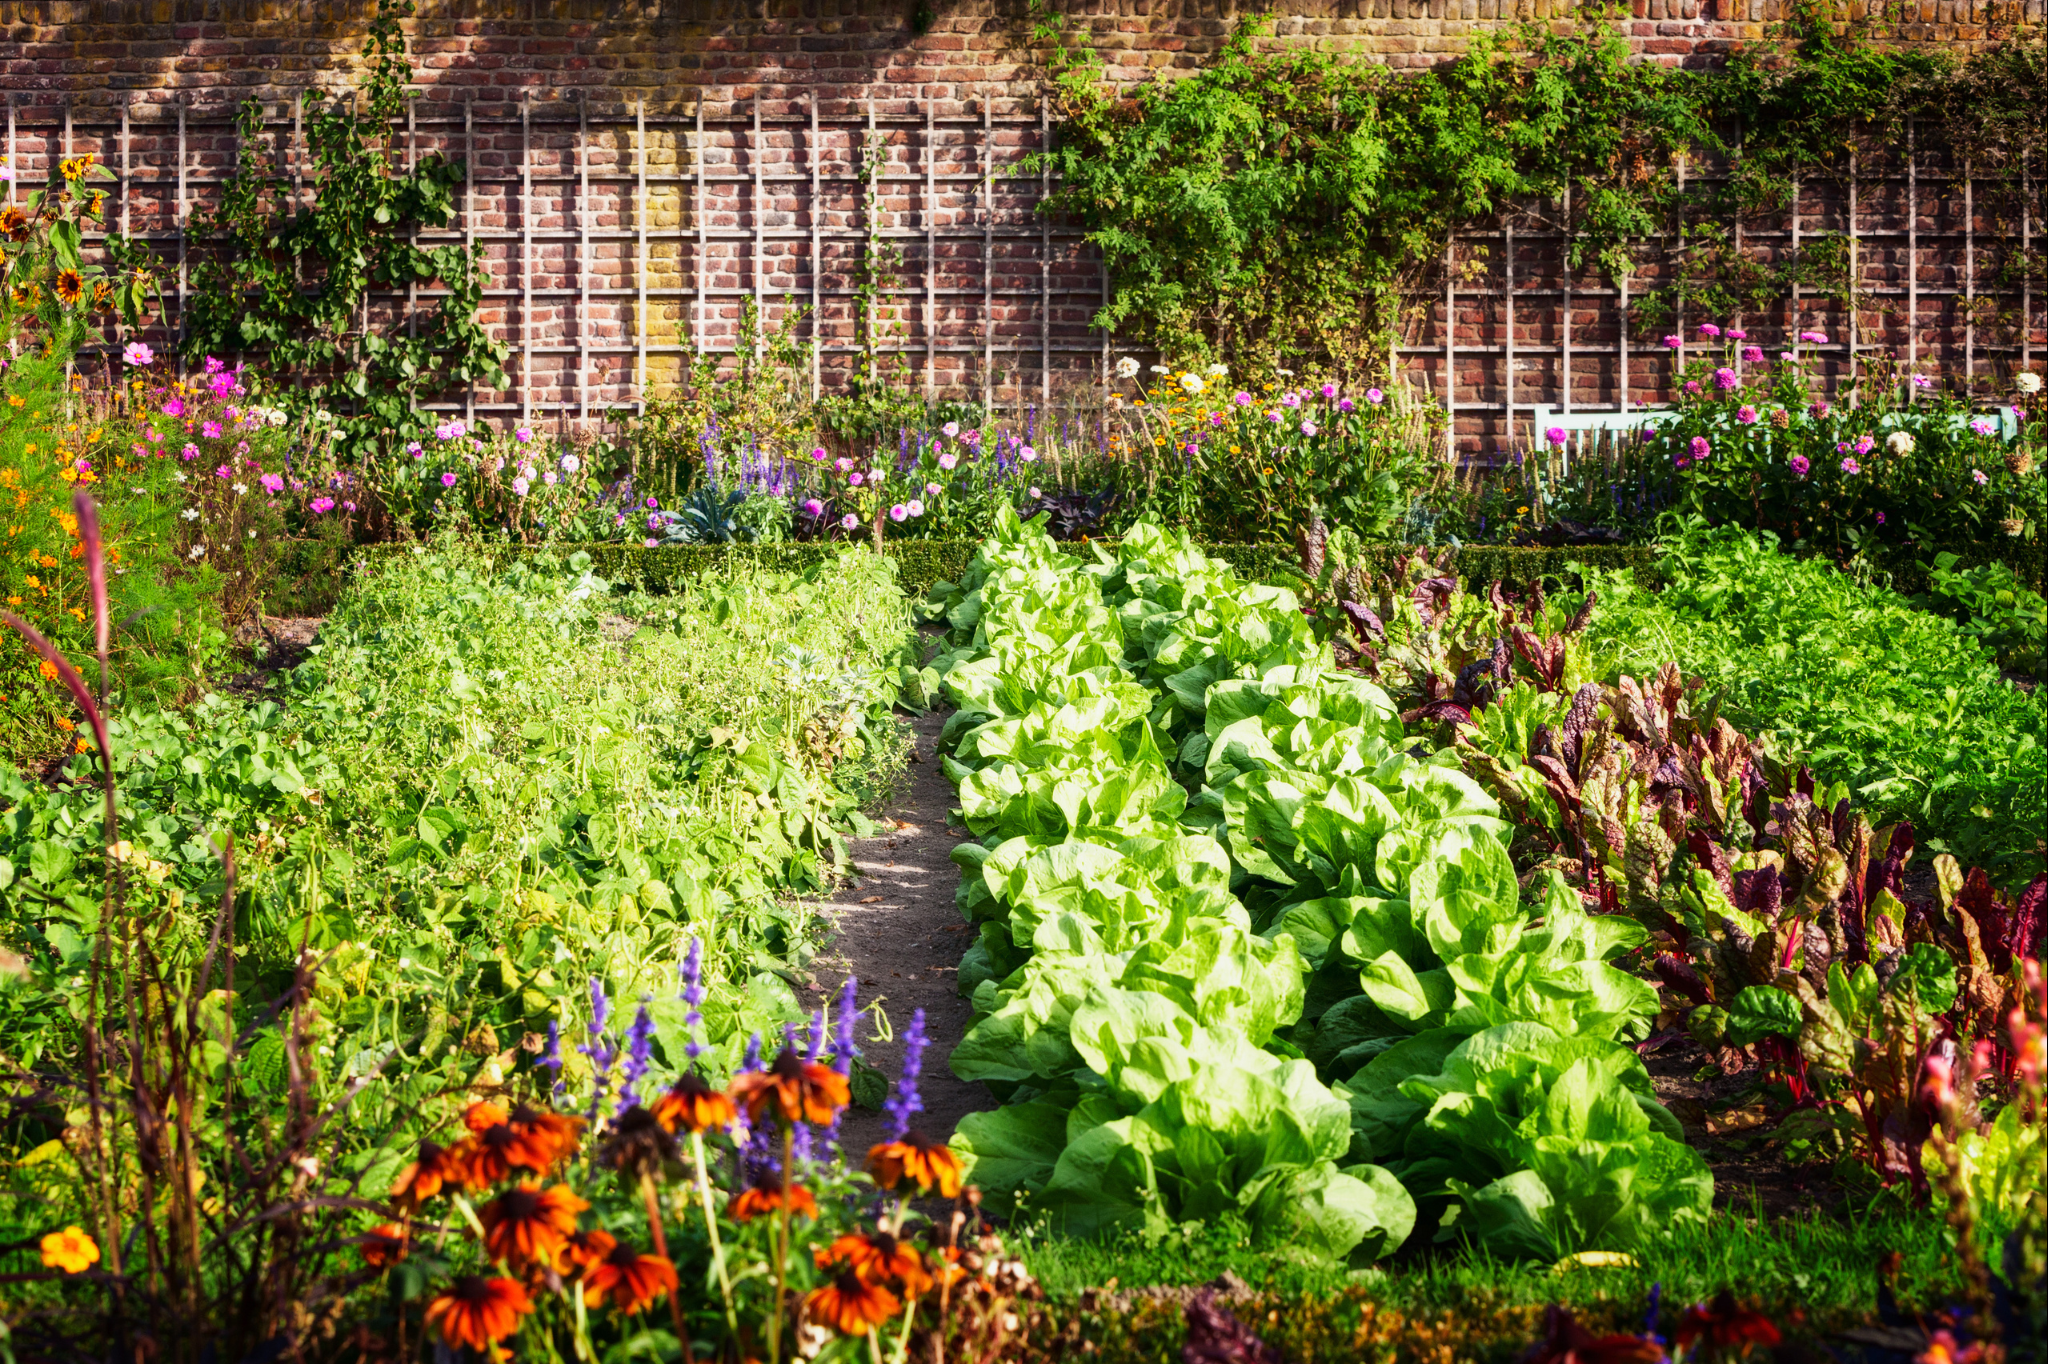
Step 2: Design Your Garden for Success and Beauty
A well-designed vegetable garden should be both highly functional and aesthetically pleasing, integrating seamlessly with your overall landscape.
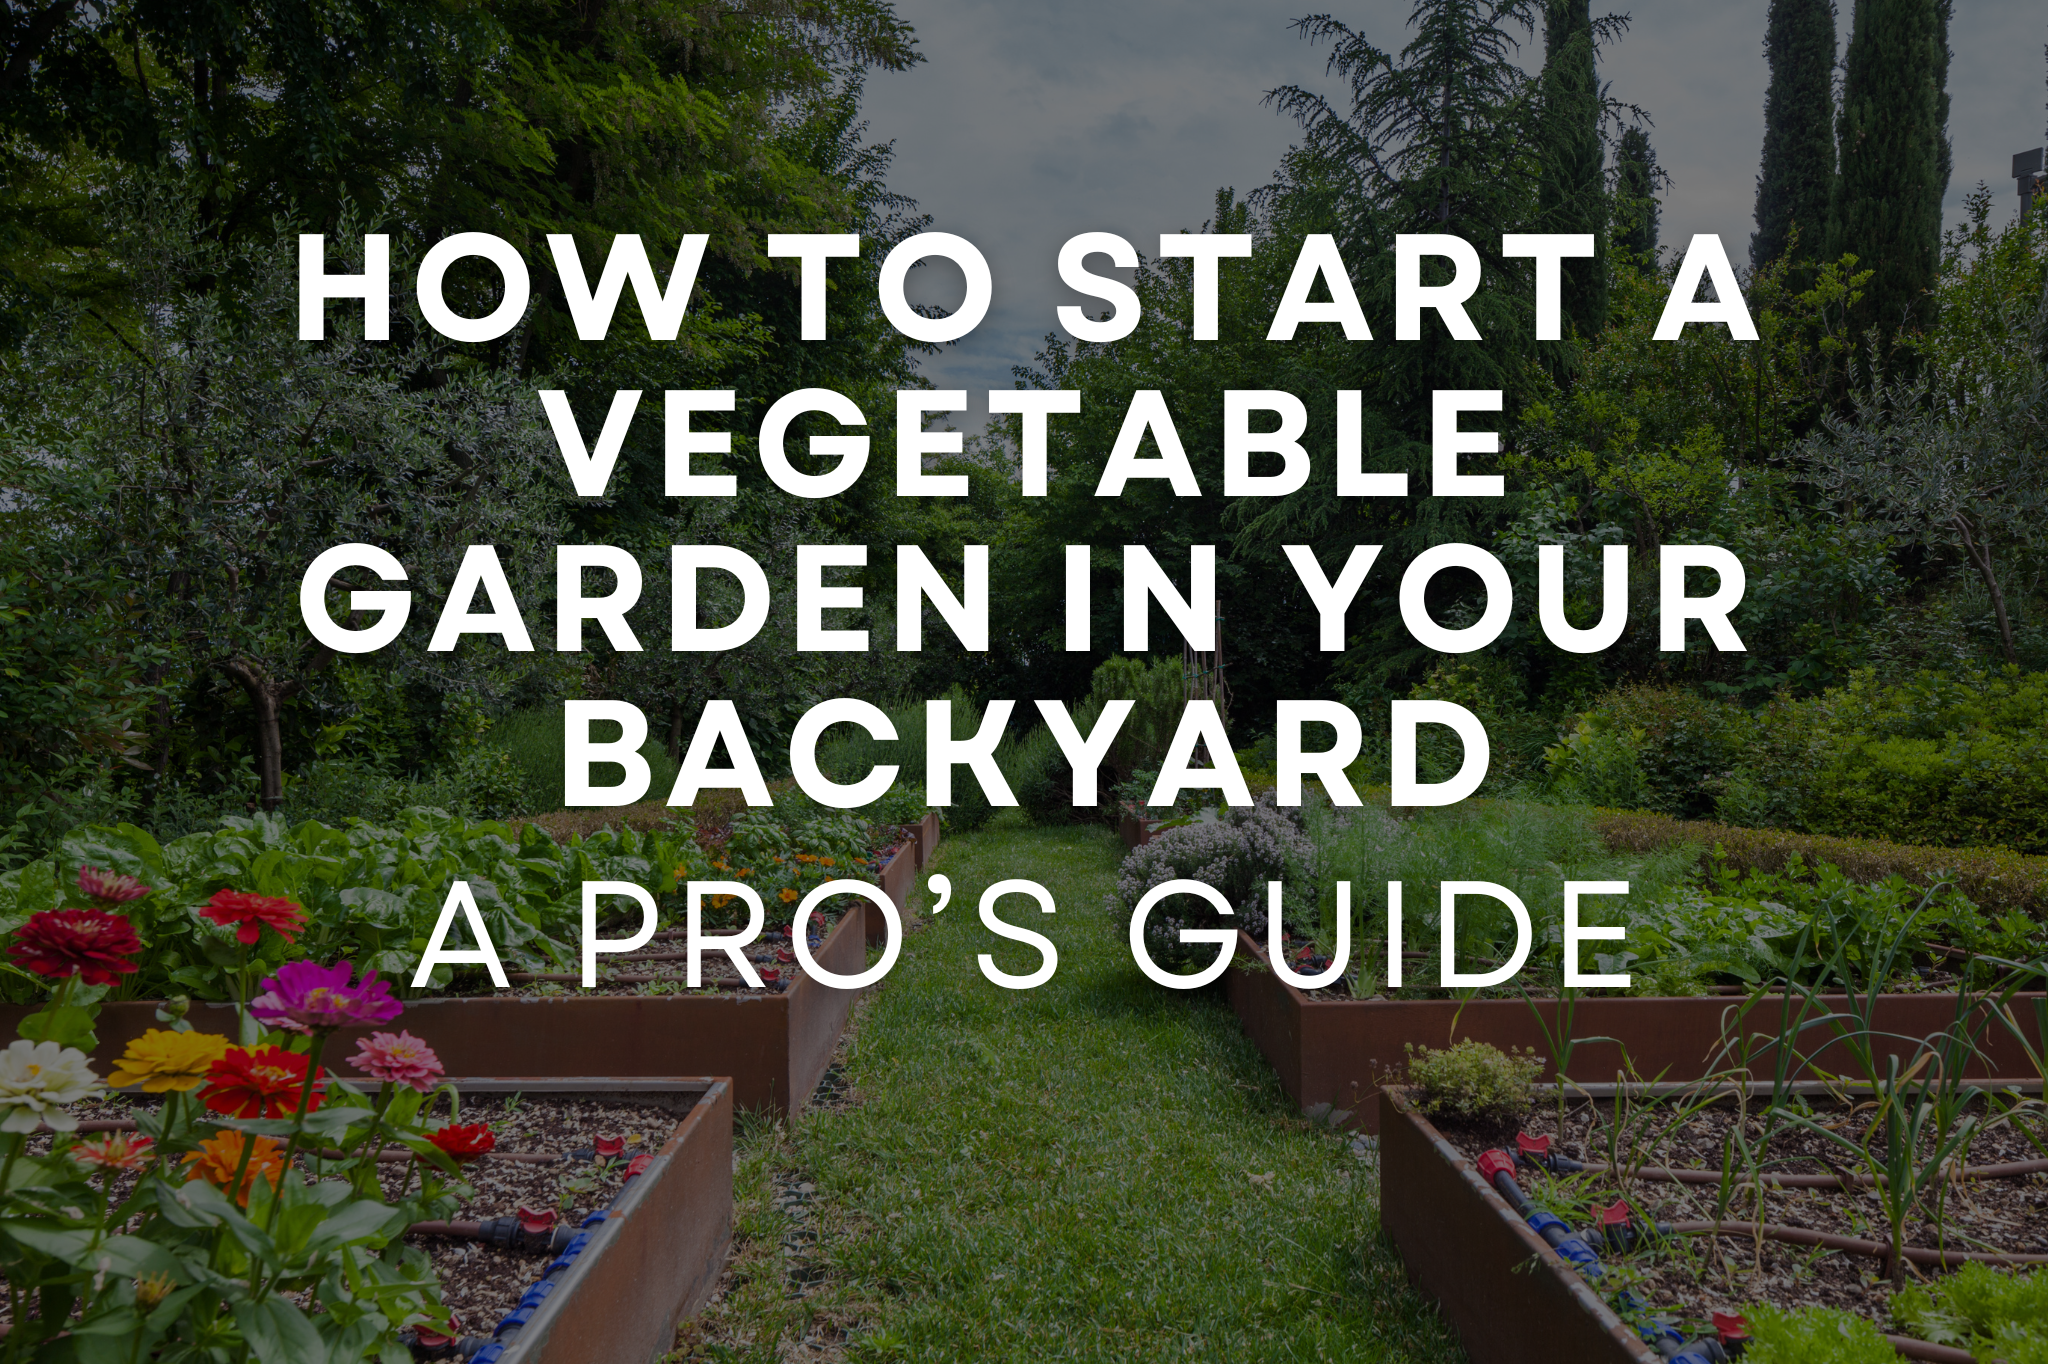
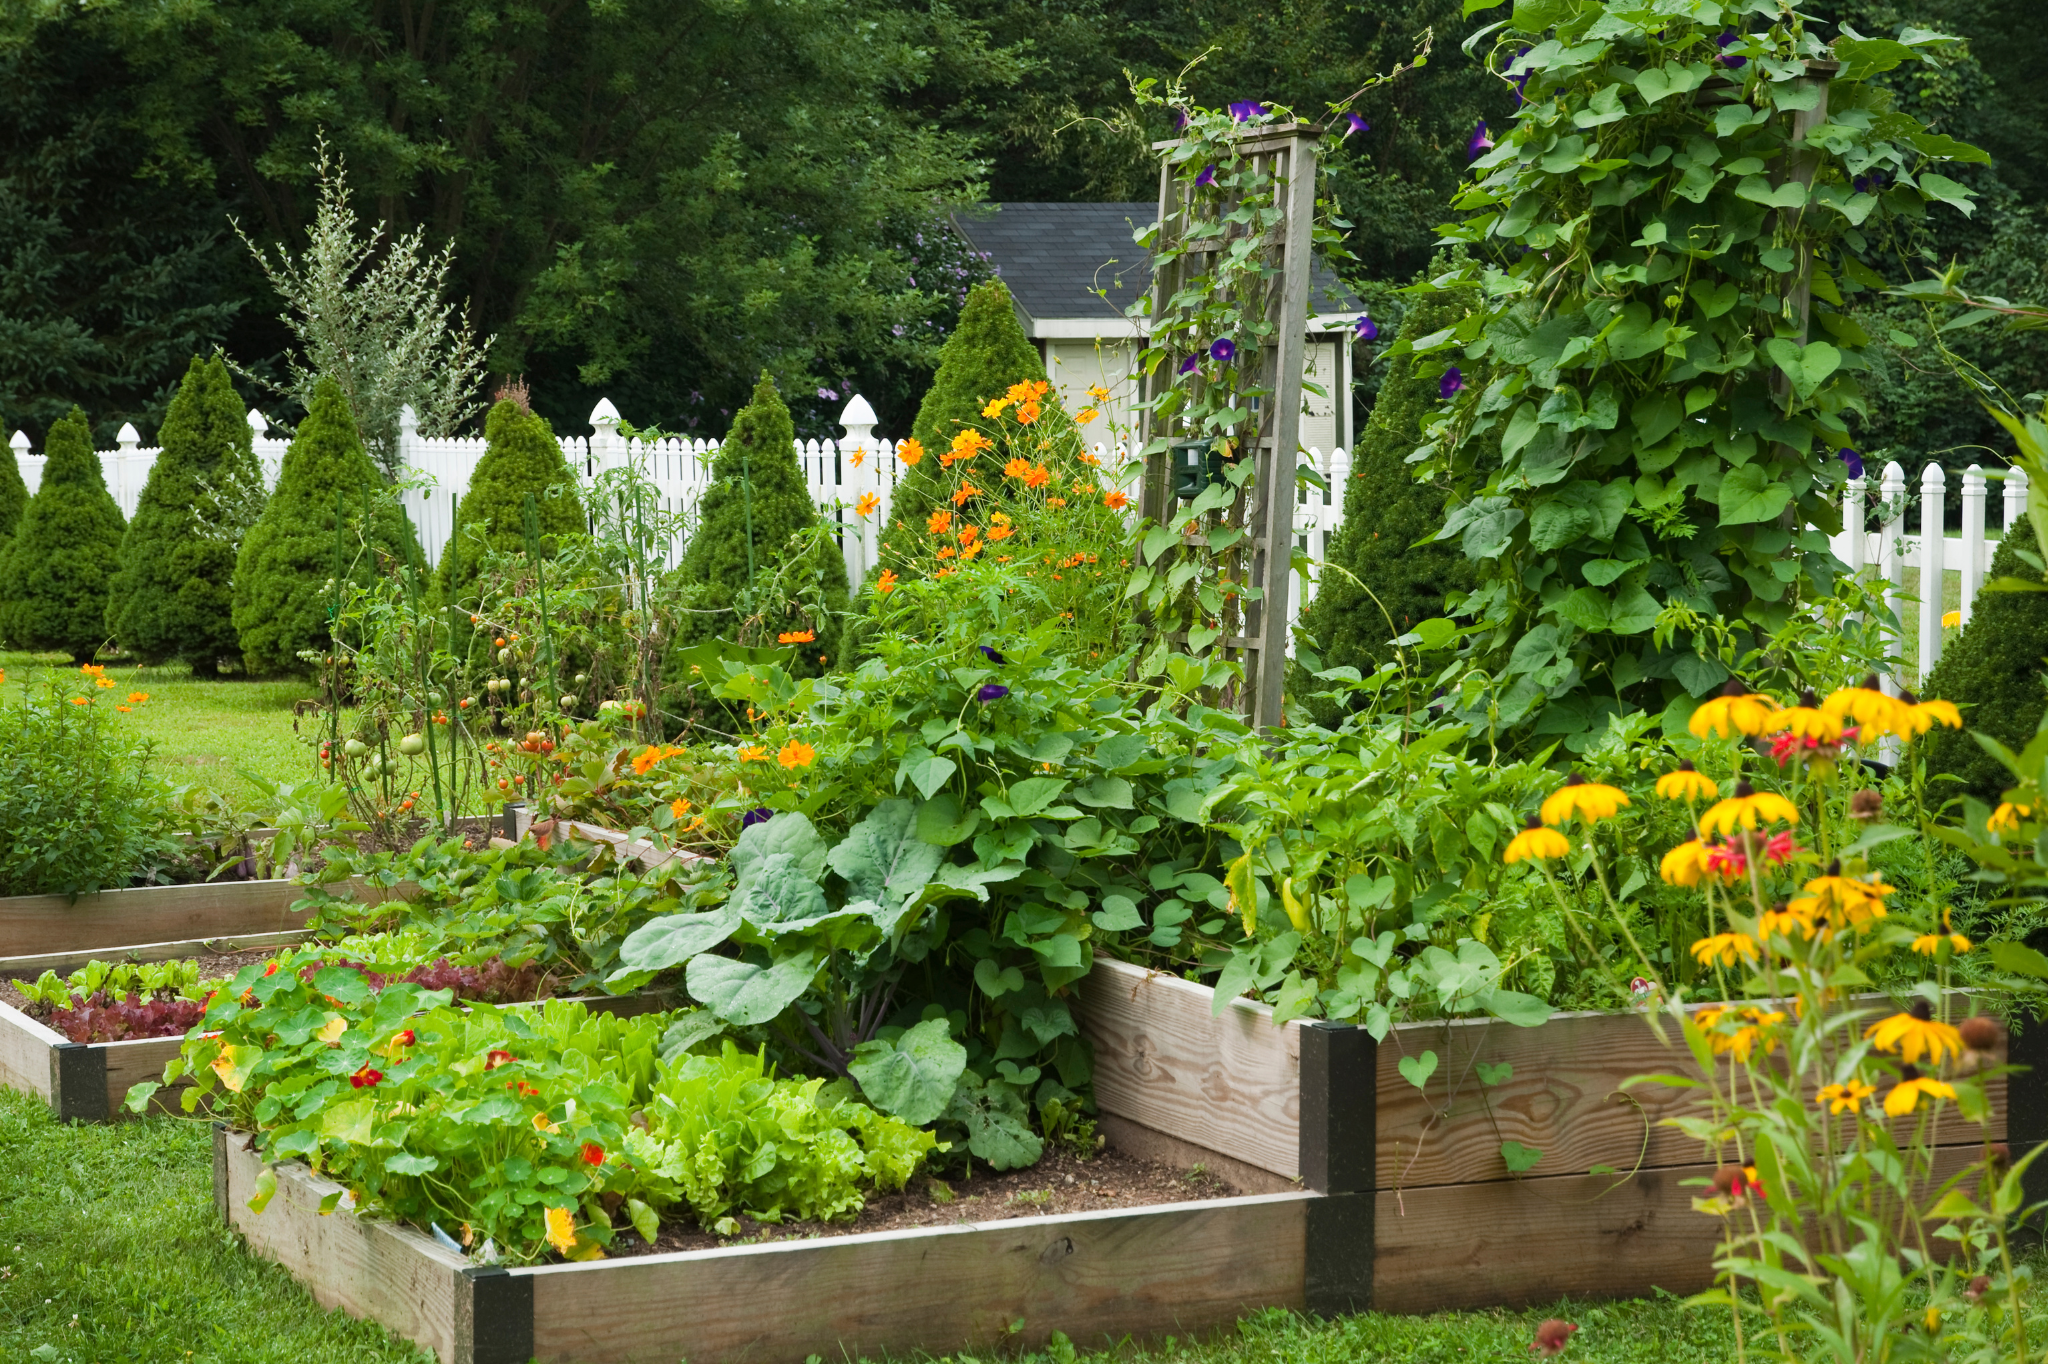
Raised Beds are our top recommendation for most beginners. They offer superior drainage, reduce soil compaction, extend the growing season with warmer soil, and make gardening accessible. We build custom cedar or composite beds that are as attractive as they are durable. In-Ground Plots work best for larger, flat areas with existing good soil and require thorough tilling and amending. Integrated Edible Landscaping blends vegetables and herbs into your ornamental flower beds—Swiss chard with colorful stems, frilly lettuces, and climbing beans on a trellis can be stunning additions.
Start Small: A common mistake is starting too big. We advise beginners to begin with one or two 4'x8' raised beds. This manageable size allows you to learn and succeed without being overwhelmed.
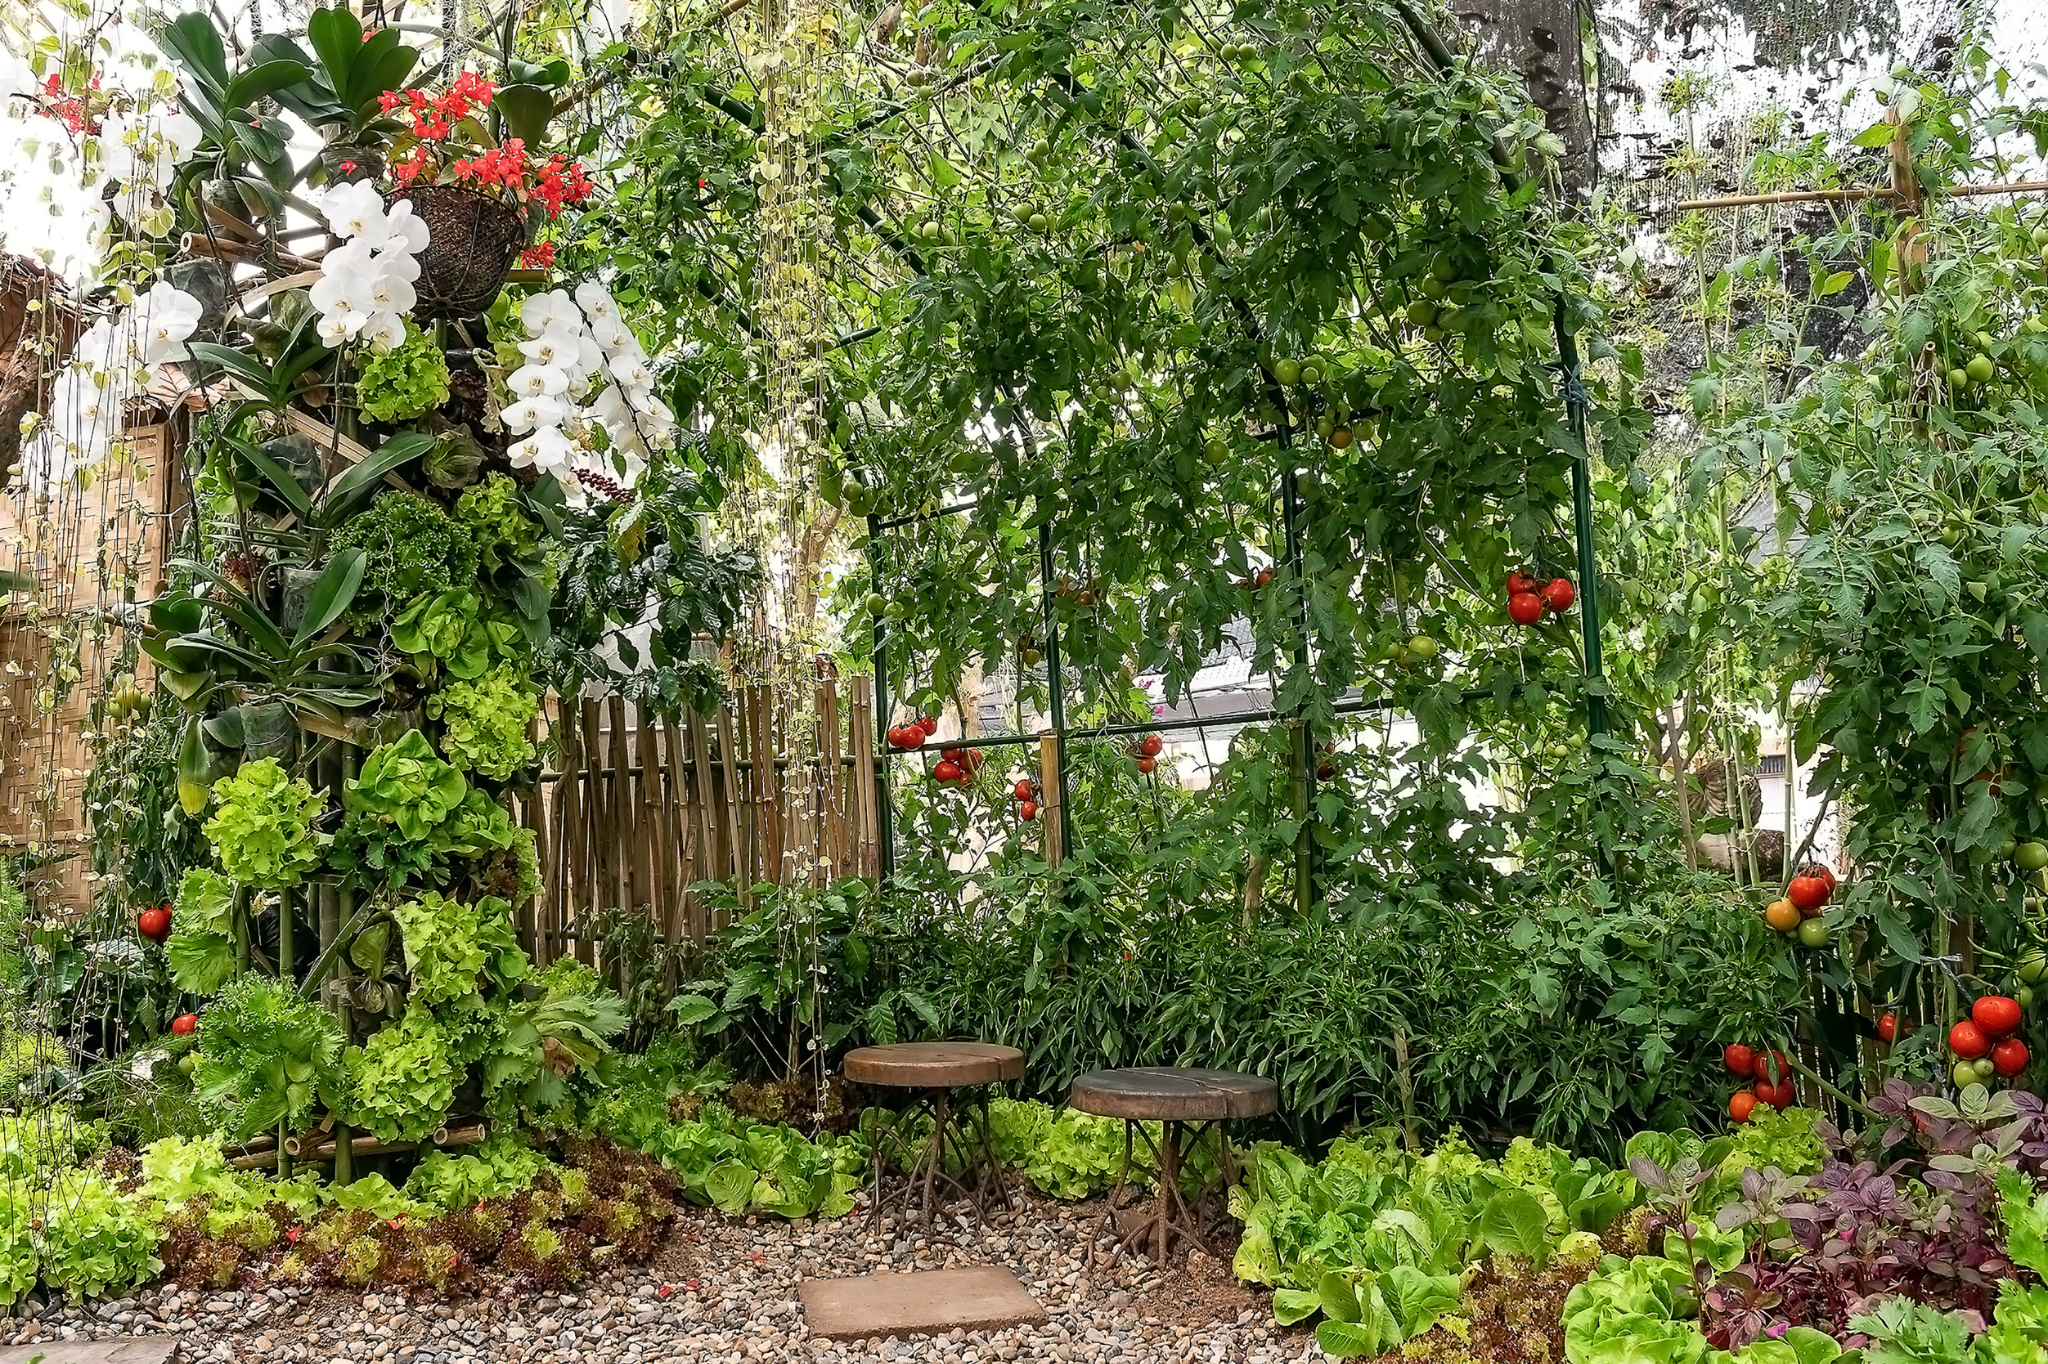
Step 3: Build the Ultimate Soil Foundation
This is where the magic happens. You cannot have a vibrant, productive garden without vibrant, living soil. Think of it as building the perfect pantry for your plants.
The C&K Landscaping soil recipe for raised beds includes high-quality topsoil as the base, generous amounts of compost (30–50% of the mix) to provide nutrients and beneficial microbes, well-rotted manure or other organic amendments such as worm castings for an extra boost, and aeration components like coarse horticultural sand or perlite to ensure roots receive oxygen. For in-ground gardens, we till existing soil to a depth of 12 inches and work in 3–4 inches of compost across the entire area.
Step 4: Select and Plant Like a Pro
Choose What You Love: Focus on vegetables your family actually eats and prioritize varieties known for flavor and reliability in our local climate.
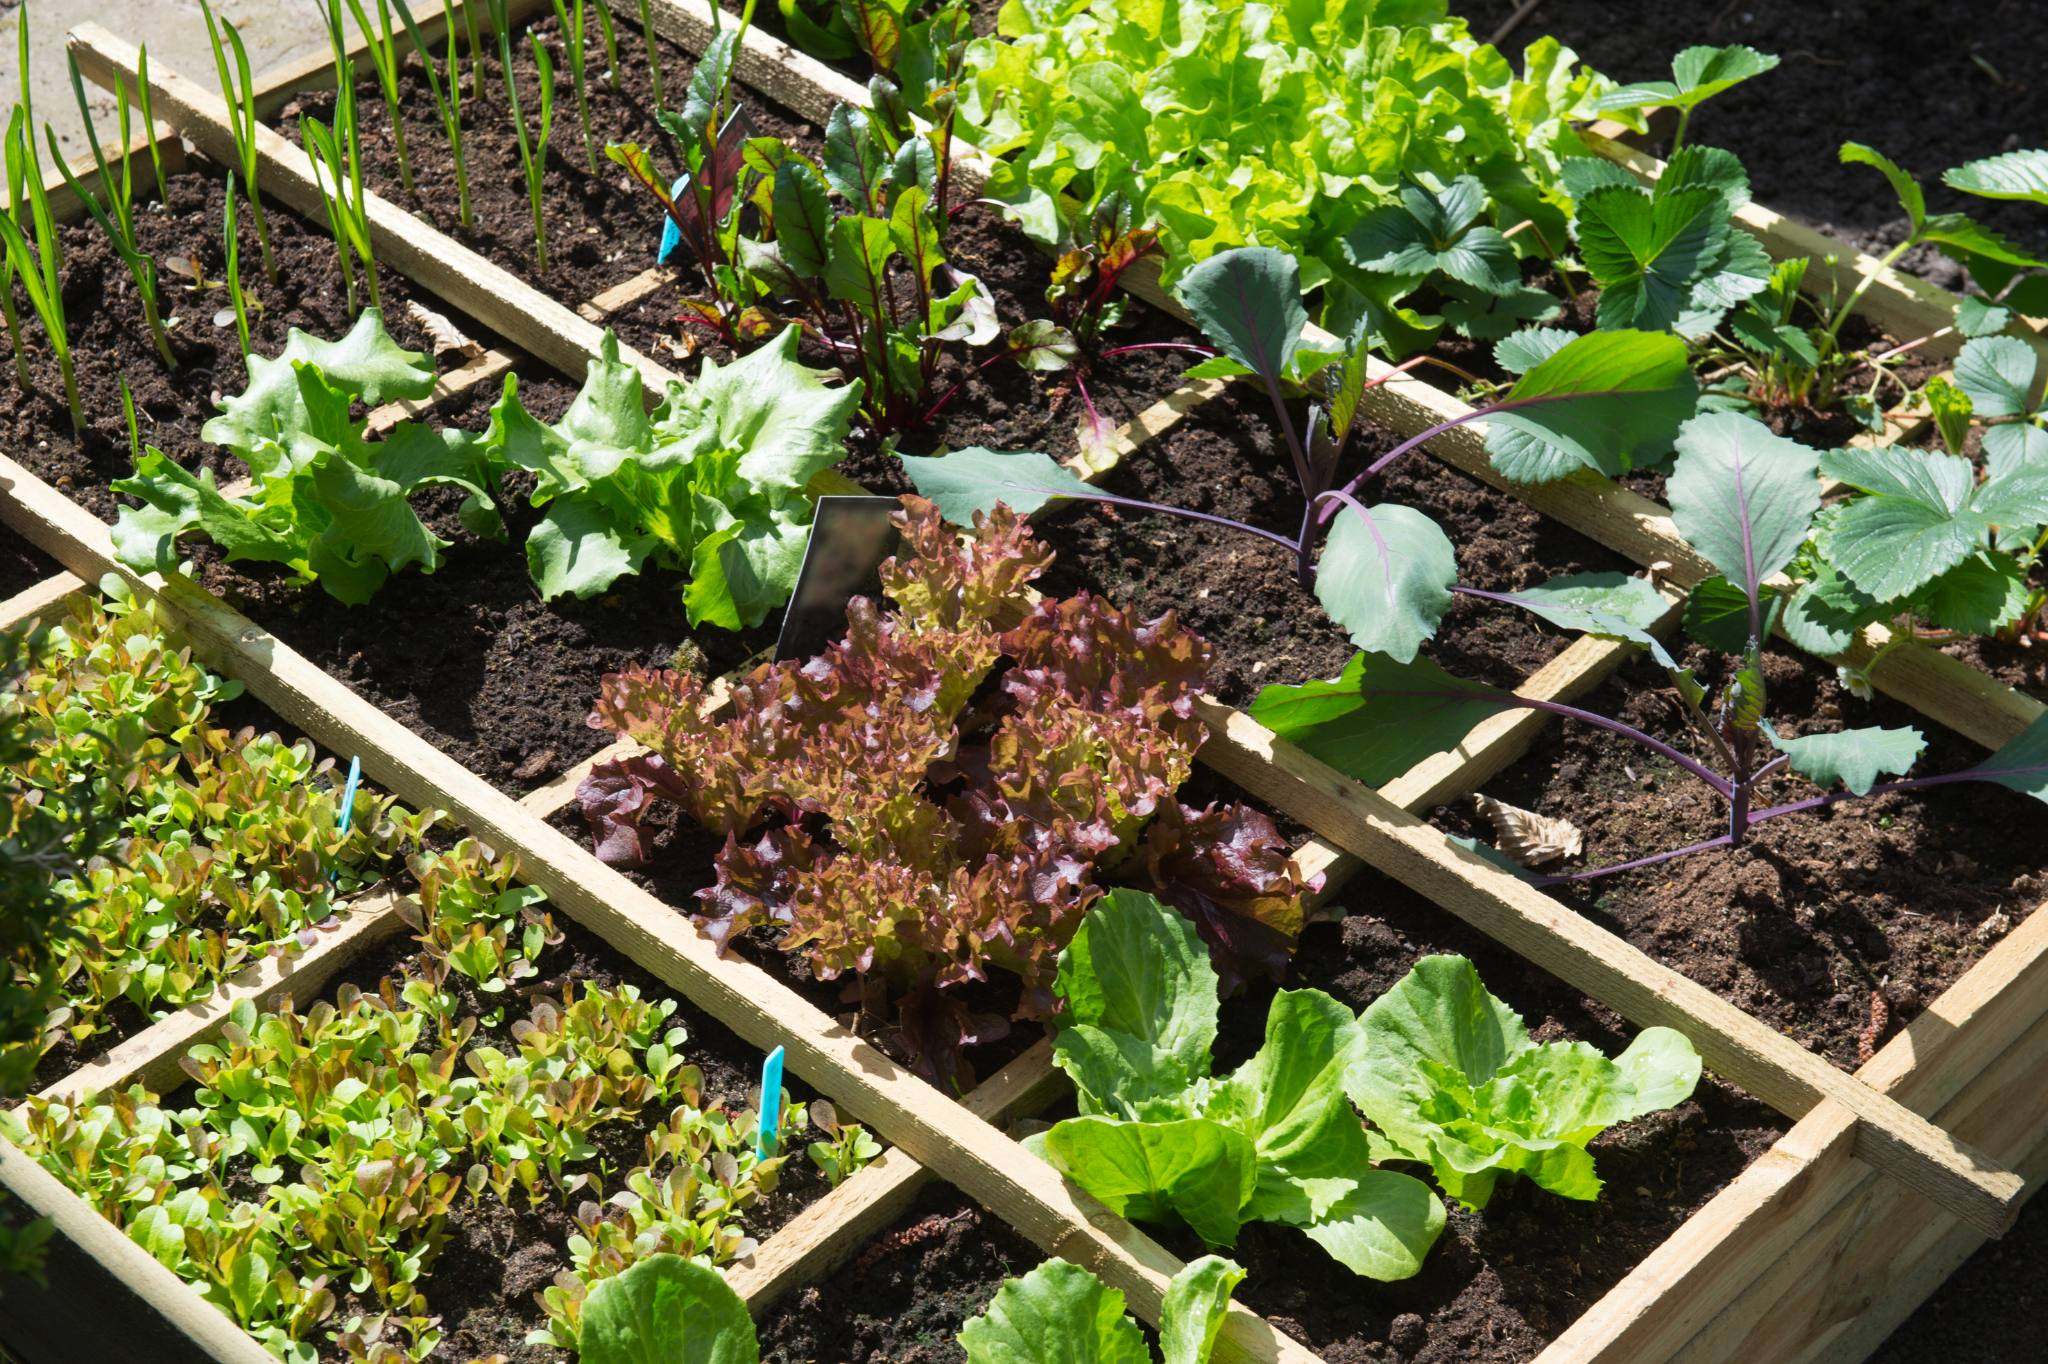
Succession Planting means after harvesting a quick crop like radishes or spinach, you immediately replant that space with beans or fall kale—maximizing yield from every square foot. Companion Planting places beneficial plants together; for example, basil near tomatoes can enhance flavor and repel pests, while marigolds scattered throughout deter nematodes. Vertical Growing uses trellises, obelisks, and cages for vining crops like tomatoes, cucumbers, and pole beans—saving ground space, improving air circulation, and making harvesting easier.
Step 5: Efficient Irrigation and Ongoing Care
Watering Wisdom: Consistent, deep watering is key. Drip irrigation or soaker hoses deliver water directly to the root zone, conserving water and preventing leaf diseases. Aim for about 1 inch of water per week—more during peak summer heat.
Mulch for Health & Cleanliness: Apply a 2–3 inch layer of organic mulch (straw, shredded leaves, or wood chips) around your plants. This suppresses weeds, retains crucial soil moisture, and keeps soil temperatures stable.
When to Call the Professionals
Starting a vegetable garden is incredibly satisfying, but certain tasks benefit from professional expertise: site grading and drainage issues where water pools or the slope is significant; custom construction of durable, beautiful raised beds, permanent pathways, or integrated irrigation systems; soil amendment on a large scale; and seasonal overhauls that transform an underused part of your yard into a productive edible oasis.
Ready to dig in? Contact C&K Landscaping today for a consultation to start planning your home harvest. From initial design and professional installation to advice on maintaining your thriving edible landscape, we're here to ensure your success.
Topics: